Many users on Reddit were incapable of logging into their PS Networks since the PS4 Error CE-33992-6 greeted them every single time. The error is caused due to issues with the PlayStation Network and can be solved by restarting the PS4 or the router.
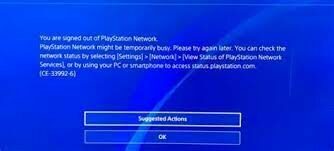
The error reads, “You are signed out of PlayStation Network. PlayStation Network might temporarily be busy. Please try again later. You can check the network status by selecting [Settings] > [Network] > [View Status of PlayStation Network Services] or by using your smartphone or PC to access status.playstation.com. (CE-33992-6)”.
Key Takeaways
- PS4 Error CE-33992-6 is an error code on the PS4 that indicates an issue with the PlayStation Network (PSN) connection or the online service currently undergoing maintenance.
- Network connectivity problems, incorrect account information, or temporary server issues can cause it.
- To resolve the issue, try restarting your PS4, checking your internet connection, and ensuring your account information is correct.
If the servers are down, you can only do a little apart from waiting. Because of this, I’ll mainly focus on if the error lies in connectivity issues. Here’s a list of the potential fixes; start with the basic potential fixes I have mentioned here:
- Restart Your Modem And Router
- Updating System Software
- Checking PSN Server Status
- Disabling Proxy Settings.
- Clearing Cache.
Updating Account Information
Now, this might be an odd one. However, it works for reasons beyond my understanding and surprisingly well. You can reset your PSN password by following these steps:
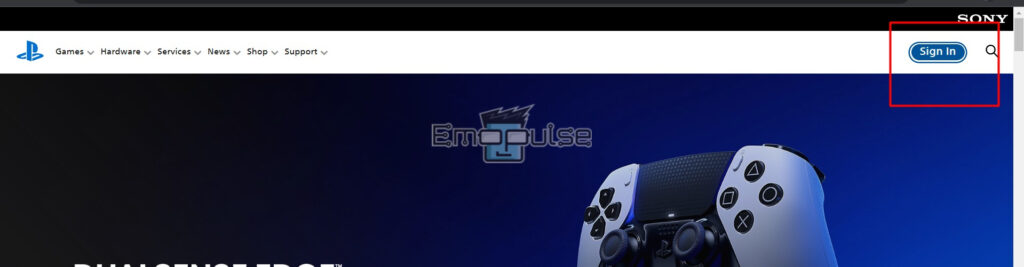
- Go to the PlayStation website and click Sign In in the top-right corner.

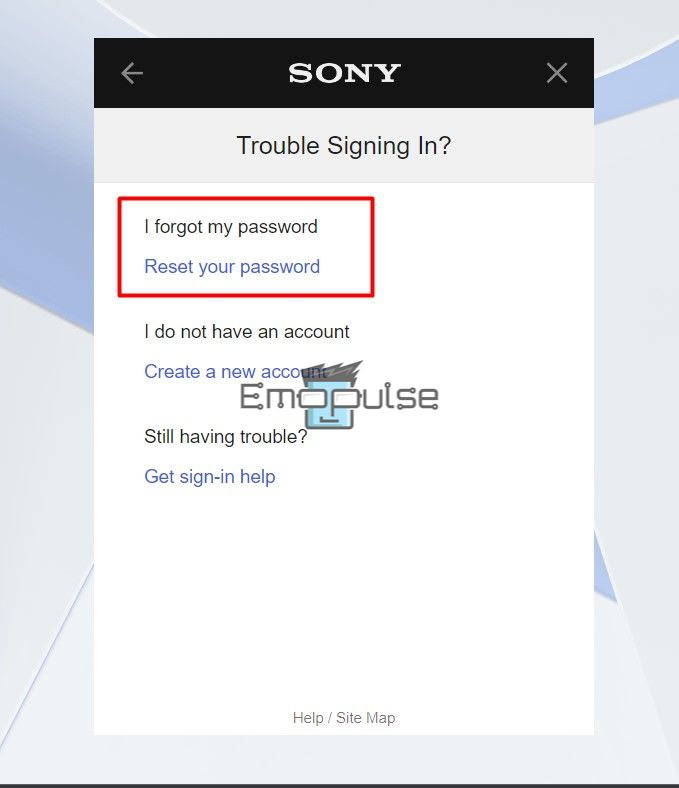
Sign In – Image Credits [Emopulse] - Click on Trouble Signing In > I forgot my password.

Trouble Signing In – Image Credits [Emopulse] - Enter the email address associated with your PSN account.
- Follow the instructions provided in the email to reset your password. You may need to verify your identity by answering security questions or providing information about your account.
- Once you have reset your password, sign in to your PSN account on your PS4 or other device and start using your updated password.
If you don’t have access to the email address associated with your PSN account, you may need to contact PlayStation support for help.
Changing The DNS Server
According to my testing, the error can be fixed by changing the DNS server, as it is responsible for your routing. You can change the DNS settings on your PS4 by following these steps:
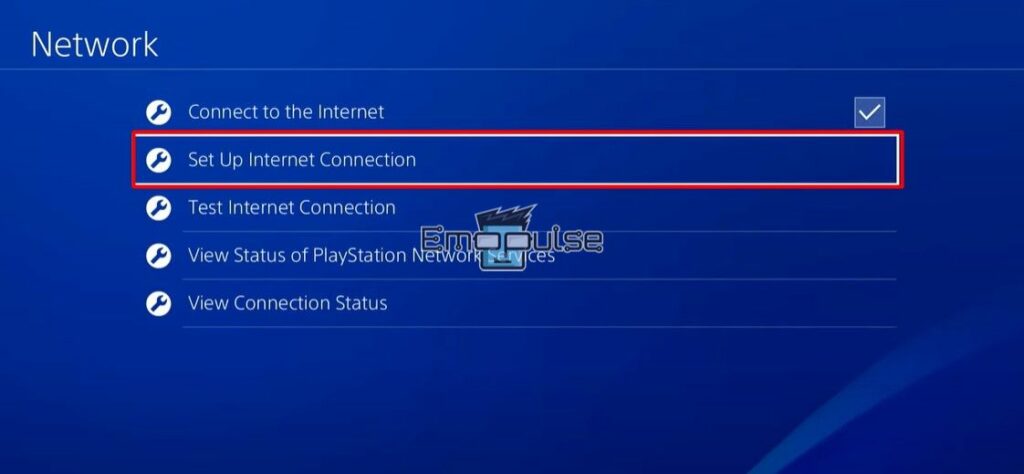
- Go to the home screen and select Settings > Network > Set Up Internet Connection.

Set Up Internet – Image Credits (Emopulse) - Choose Wi-Fi or LAN cable, depending on your connection.

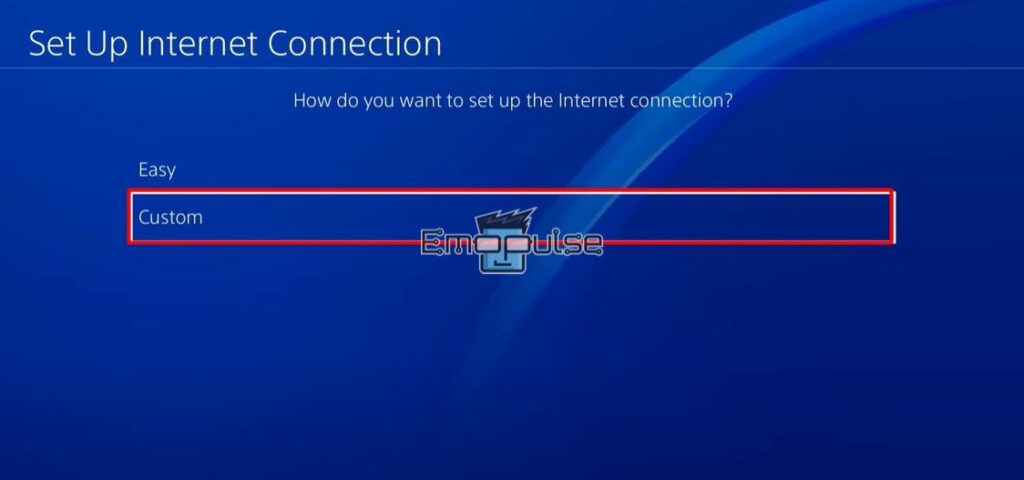
Use Wi-Fi – Image Credits (Emopulse) - Select Custom.

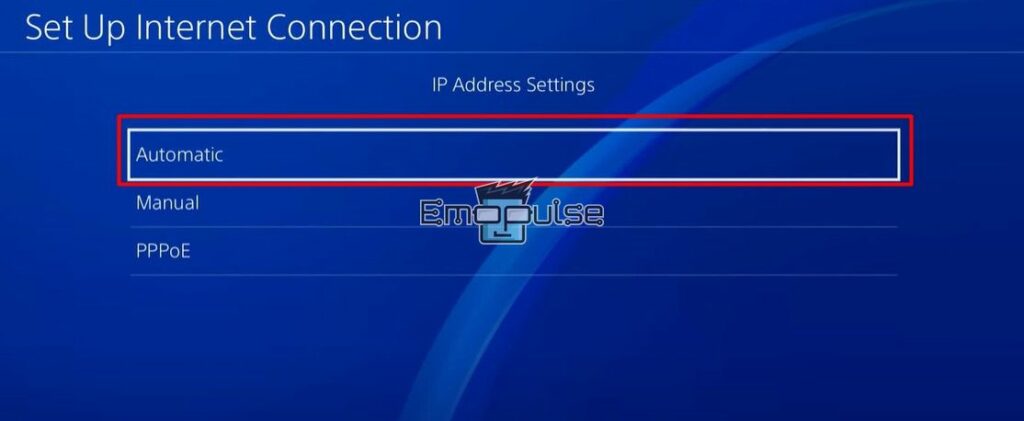
Custom – Image Credits (Emopulse) - Select Automatic for IP Address Settings and DHCP Host Name.

Automatic – Image Credits (Emopulse) - Choose Manual for DNS settings.
- Enter the preferred and alternate DNS servers you want to use. You can use a public DNS server such as Google’s (8.8.8.8 and 8.8.4.4) or Cloudflare’s (1.1.1.1 and 1.0.0.1).
- Save the changes and test your internet connection.

Port Forwarding
According to my team members, port forwarding is also a tried fix to resolve this error. It allows redirecting incoming traffic on specific ports to your PS4. To set up port forwarding for your PS4, you will need to follow these steps:
- Connect your PS4 to the internet using a LAN cable or Wi-Fi.
- Access the router’s web-based interface by entering its IP address in a web browser.
- Find the port forwarding or virtual server section of the router’s settings.
- Create a new port forwarding rule for your PS4. You will need to specify the following information:
- Name: Choose a descriptive name for the rule, such as PS4 Port Forwarding.
- Port range: Enter the ports you want to forward. The default port range for PS4 is TCP: 80, 443, 3478, 3479, 3480, and UDP: 3478, 3479.
- IP address: Enter the IP address of your PS4.
- Protocol: Choose the protocol type, either TCP or UDP.
- Save the changes and restart your PS4.
The steps to set up port forwarding may vary depending on your router model, so consult the router’s user manual for more detailed instructions. If you still need help, contact your internet service provider for assistance.
Final Verdict
If the PlayStation Network service is operational and you still encounter this error, you might have issues because of your home network. PlayStation’s official website recommends a minimum download speed of 5 Mbps. Therefore, I suggest you try connecting to a different connection with a download speed of 5 Mbps or higher if your speeds are less than this to eliminate this error.
Here’s a list of guides to check your diagnosis:
The PS4 error CE-33992-6 is a message that appears when there is a problem connecting to the PlayStation Network (PSN) or when the online service is currently undergoing maintenance. Challenges with network connectivity, inaccurate account information, or momentary server problems may bring it on. Try resetting your PS4, checking your internet connection, and ensuring your account information is accurate to see if it helps. Frequently Asked Questions
What is PS4 Error CE-33992-6?
What causes PS4 Error CE-33992-6?
How do you fix PS4 Error CE-33992-6?
Good job! Please give your positive feedback
How could we improve this post? Please Help us.