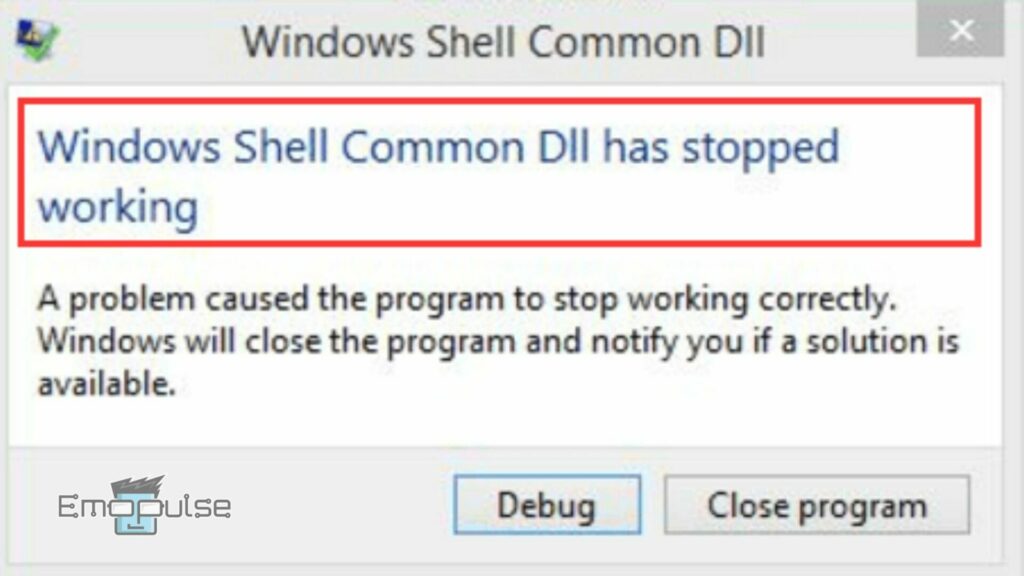
The “Windows Shell Common DLL has stopped working” error can occur when attempting to configure recording or playback devices. This error indicates that the Windows Shell Common DLL, a critical component utilized by various Windows processes, has crashed due to an error. Typically, users encounter this crash while making adjustments to their audio device settings.
It is a quite common error and multiple users from the Microsoft Community have also reported it. It typically arises due to faulty drivers, interference from third-party apps, or corrupted system files. But fear not, I will provide you the easiest fixes to resolve this issue.
Key Takeaways
- The “Windows Shell Common DLL has stopped working” error disrupts tasks related to configuring recording or playback devices on Windows systems.
- Common causes of this error include faulty drivers, interference from third-party apps, or corrupted system files.
- To fix this error, users can try several fixes including updating audio drivers, changing security permissions, repairing corrupted system files using SFC and DISM tools, configuring Windows to accept certificates, registering DLL files again, etc.
I have gone through the hassle to find the best fixes to resolve this issue. Follow these methods step by step and you will get rid of this error in no time.
Update Audio Drivers
After some research, I’ve found that outdated or corrupted audio drivers could be contributing to the “Windows Shell Common DLL has stopped working” error. By updating your audio drivers through Device Manager, you can ensure that they are compatible with your system. This method has also worked for a number of Reddit users. To do this, follow these steps:
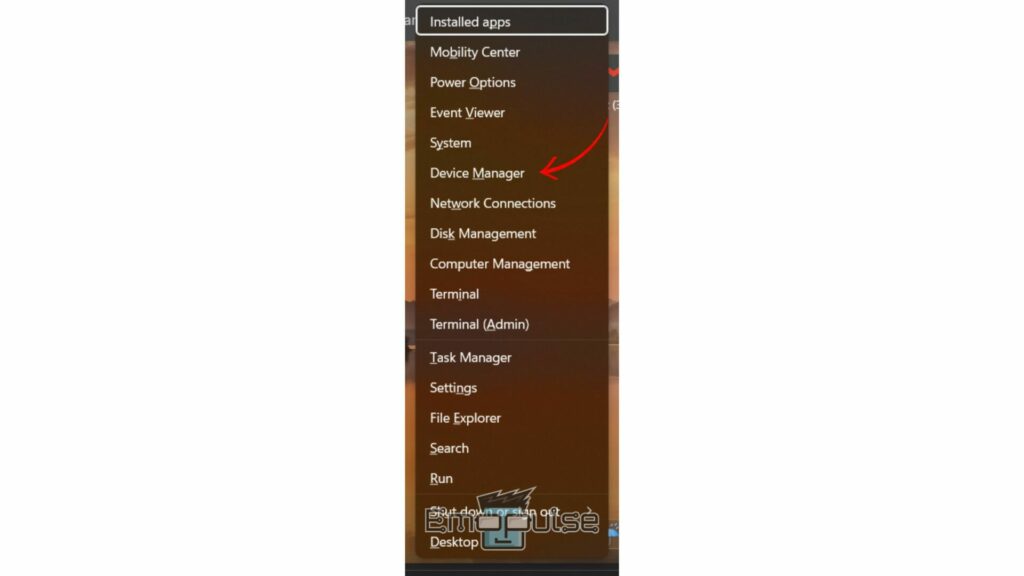
- Open Device Manager: Press Windows + X on your keyboard and select “Device Manager” from the menu.

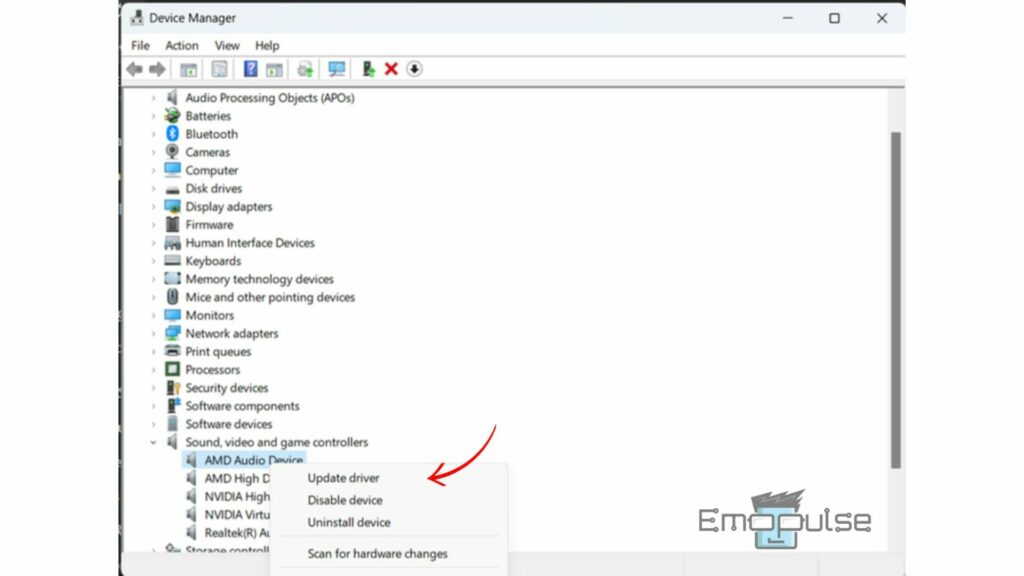
Opening Device Manager in Windows – Image Credit (Emopulse) - Locate the Device: In Device Manager, find the “Sound, video, and game controllers” category. Right-click on the device you want to update and select “Update driver” from the context menu.
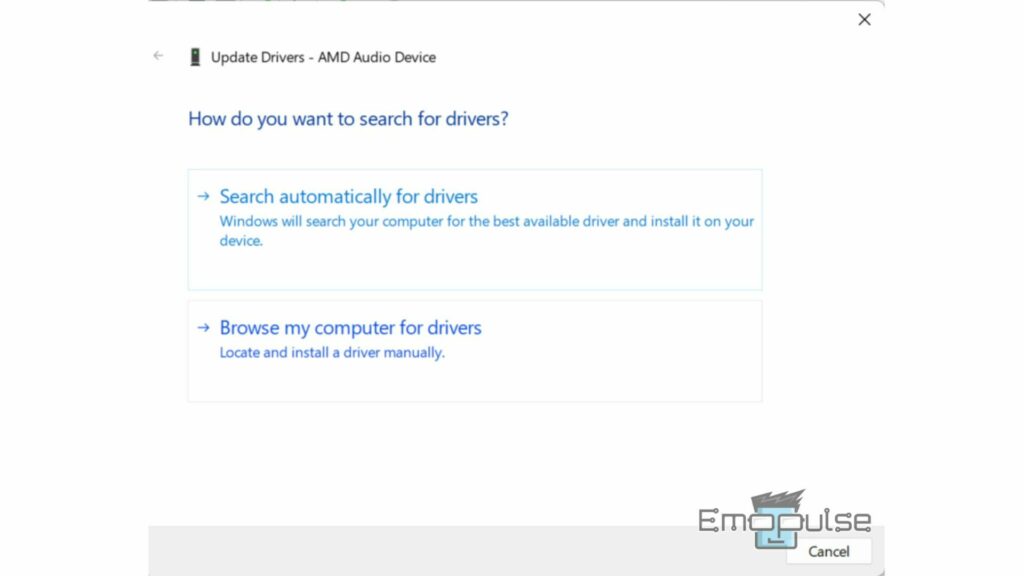
Updating Sound Driver from Device Manager – Image Credit (Emopulse) - Choose Update Method: In the Update Driver window, you’ll have two options. Either you can search automatically for updated driver software or browse your computer for driver software
Windows Driver Update Options – Image Credit (Emopulse) - Follow On-Screen Instructions: Depending on the option you choose, follow the on-screen instructions to complete the driver update process.
- Restart Your Computer: After the update is complete, restart your computer to apply the changes.
Register DLL Files Again
Another fix to this issue can be to register your system DLL files again. By doing this you can correct any issues with the DLL registrations. I found on Reddit that many other users have also benefitted from this. You can also try it by following these simple steps:
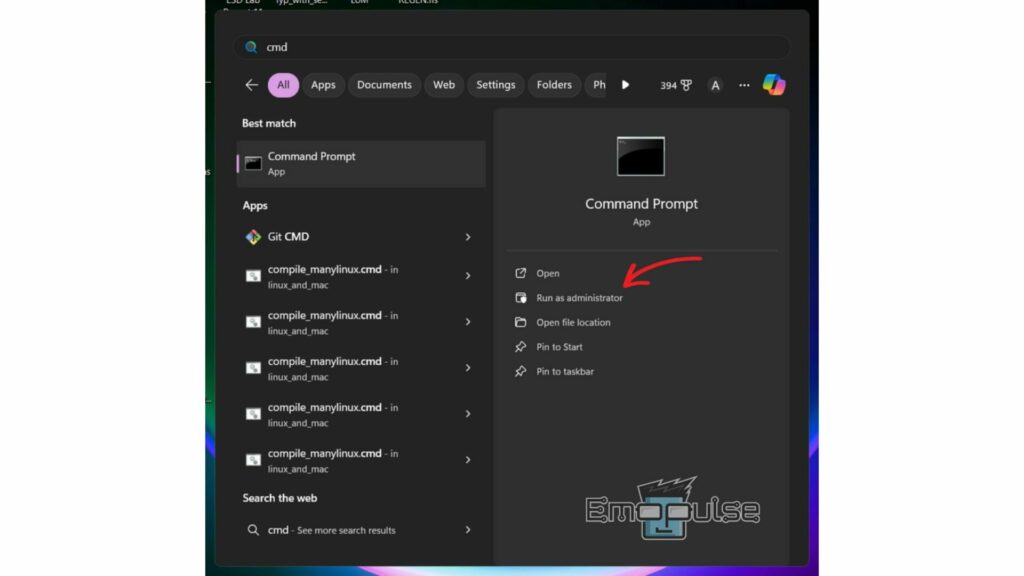
- Open Command Prompt as Administrator: Press the Windows key on your keyboard and type “Command Prompt” in the search bar. “Command Prompt” will appear in the search results. Select “Run as administrator” from the context menu.
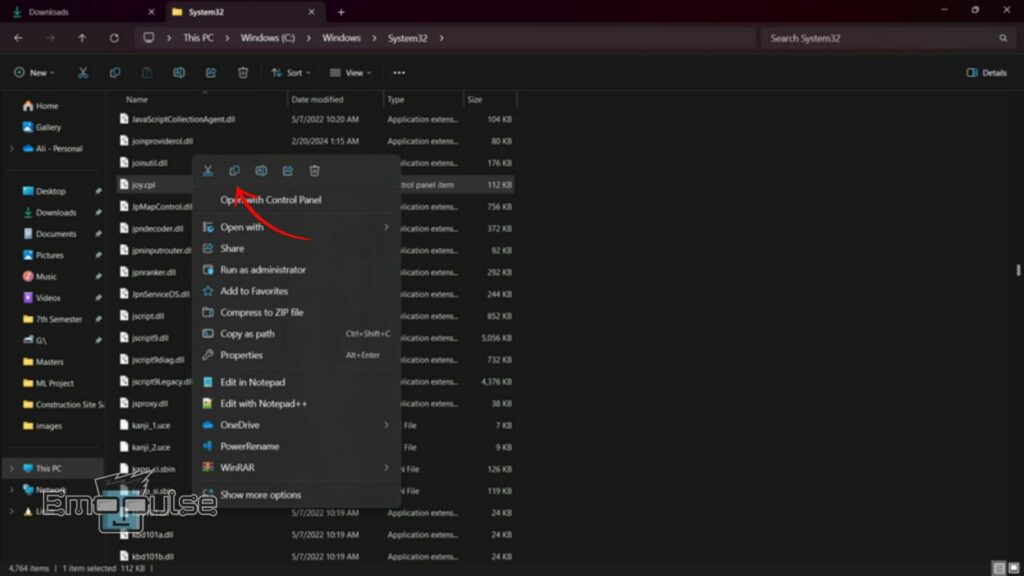
Running CMD as an Administrator – Image Credit (Emopulse) – Image Credit (Emopulse) - Navigate to the System32 Directory: In the Command Prompt window, type the following command and press Enter. This command will change the directory to System32 where the DLL files are located.
cd %WINDIR%\System32
- Register DLL Files: Type the following command and press Enter to re-register all DLL files in the System32 directory.
for /f %s in (‘dir /b *.dll’) do regsvr32 /s %s
Registering System DLL files again – Image Credit (Emopulse) - Restart Your Computer: After registering the DLL files, restart your computer to apply the changes.

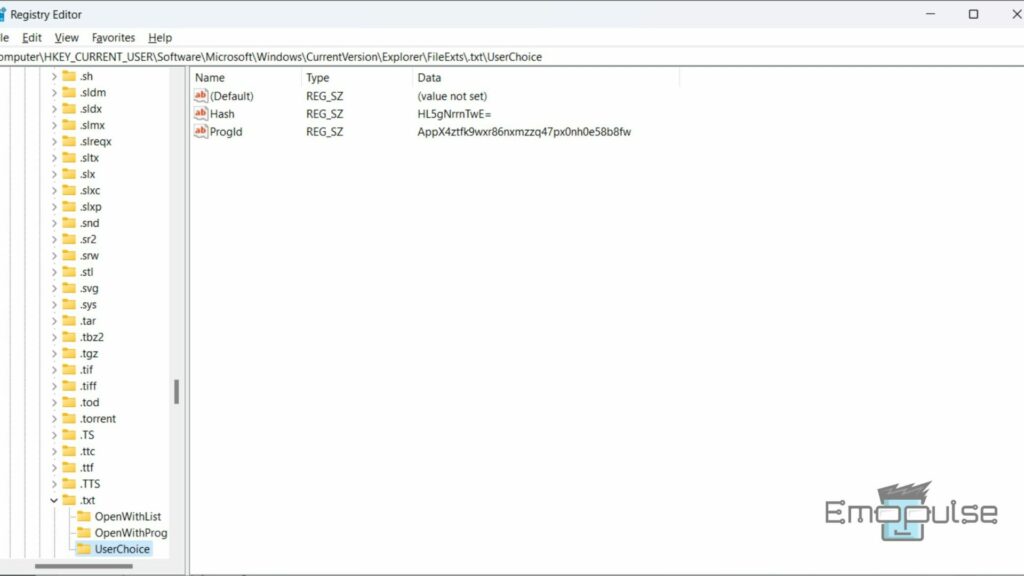
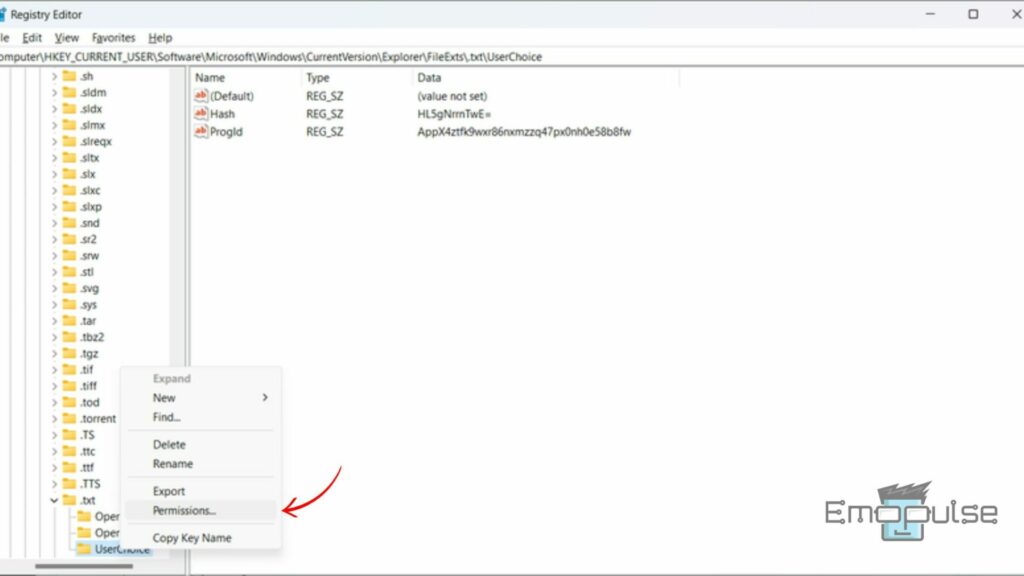
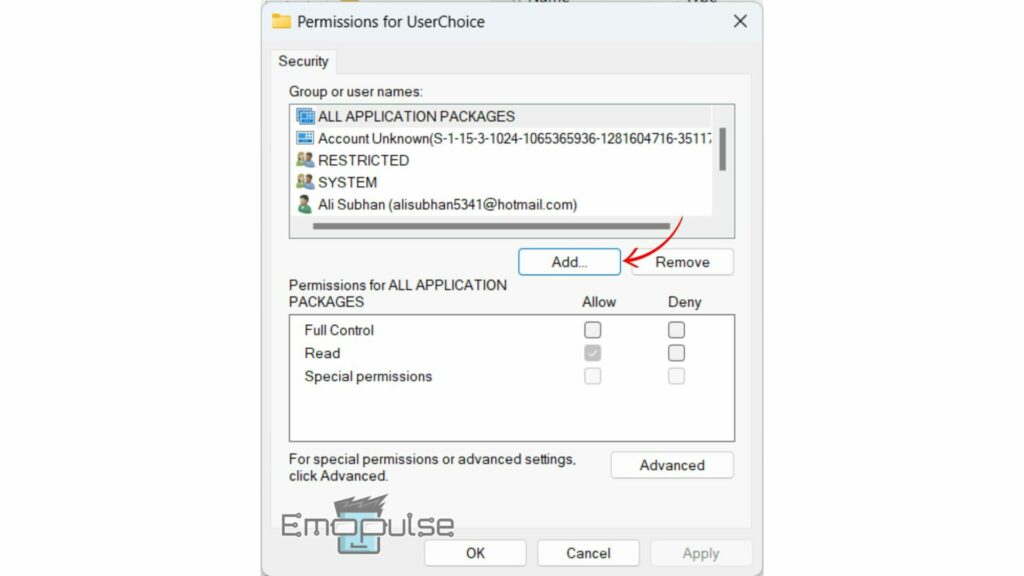
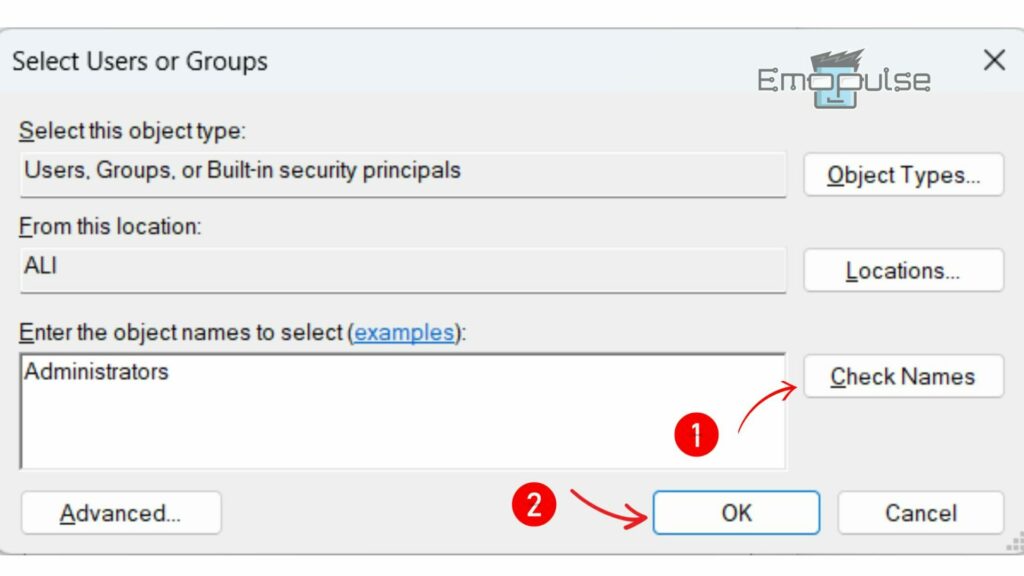
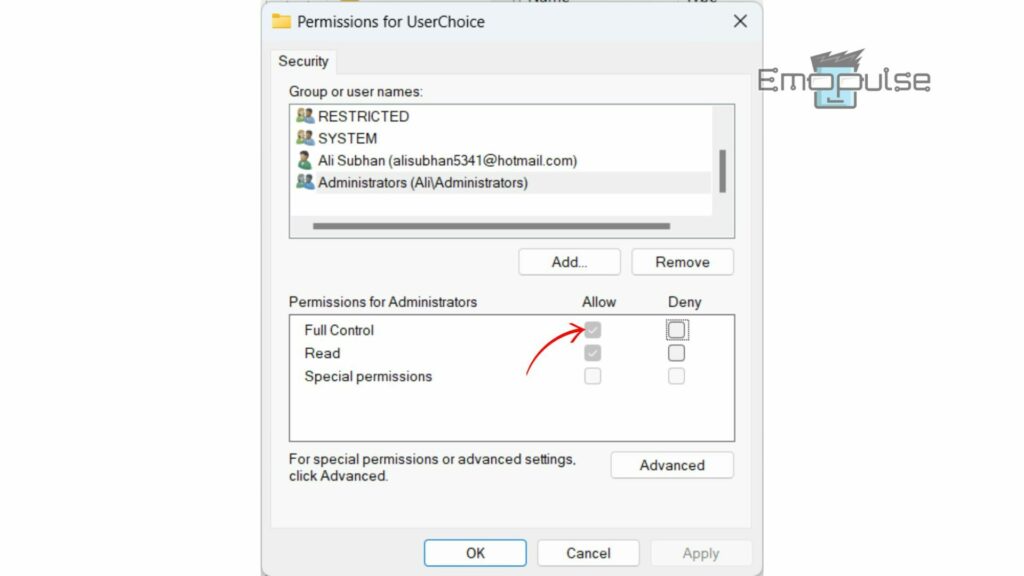
Change UserChoice Key Security Permissions
During our research, our team also found that incorrect security permissions on the UserChoice key in the Windows Registry may lead to this error. By adjusting the permissions to ensure that administrators have full control, you can resolve this conflict. To do this, follow these steps:

Confirm Windows Certificate Acceptance Configuration
The misconfiguration of Windows certificate acceptance settings may also lead to this error. By confirming and adjusting the Windows certificate acceptance configuration through PowerShell, users can ensure that certificates are properly recognized and accepted by the system, potentially resolving this error. To do this:
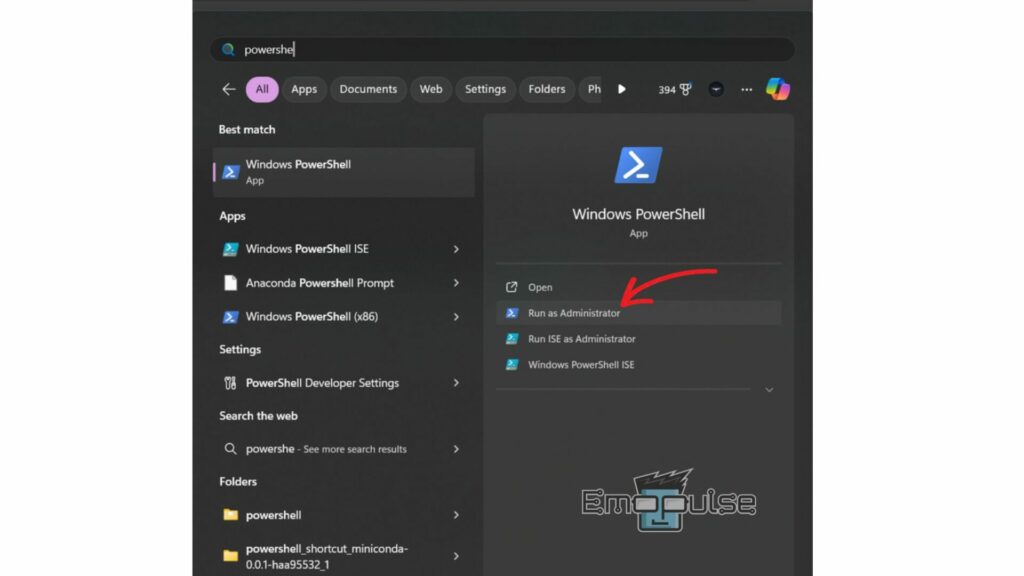
- Open PowerShell as Administrator: Press the Windows key + S to open the search bar. Type “PowerShell” and select “Run as administrator” under Windows PowerShell in the search results.
Running Windows PowerShell as an Administrator – Image Credit (Emopulse) - Run the PowerShell Command: In the PowerShell window that opens, type the following command and press Enter. This command sets the execution policy to unrestricted for the current user, allowing PowerShell scripts to run without restrictions.
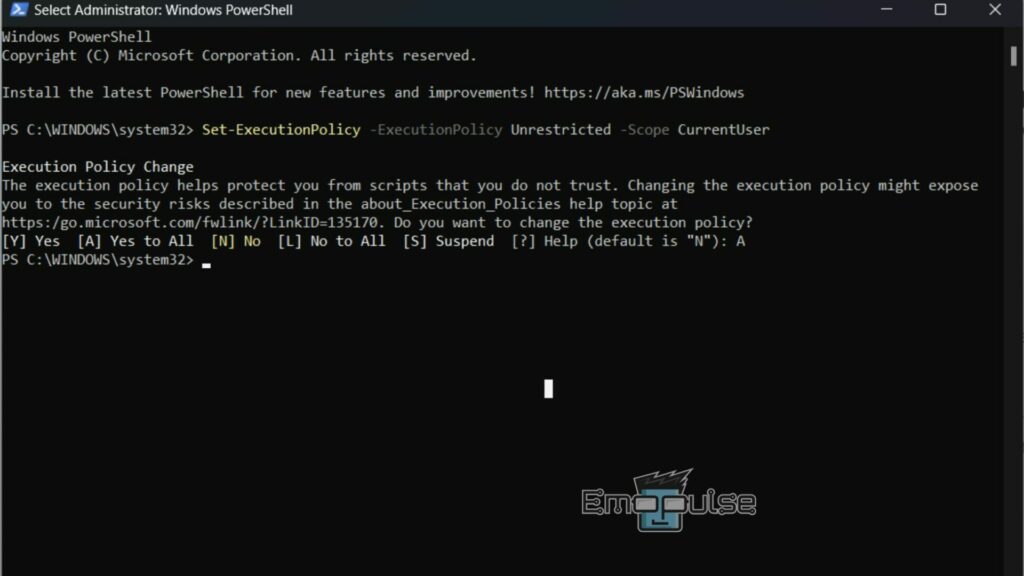
Set-ExecutionPolicy -ExecutionPolicy Unrestricted -Scope CurrentUser
Confirm Windows Certificate Acceptance Configuration in Windows PowerShell – Image Credit (Emopulse) - Allow All: When prompted about if you want to change the execution policy, press “A” and then press the Enter key to allow all.
Final Verdict
In conclusion, the “Windows Shell Common DLL has stopped working” error can significantly disrupt tasks related to configuring recording or playback devices on Windows systems. This error commonly arises due to faulty drivers, interference from third-party apps, or corrupted system files. Although this error is widespread and multiple users on Microsoft Community are reporting it, users can resolve this issue by following a series of troubleshooting steps, including updating audio drivers, adjusting security permissions, repairing corrupted system files, and performing a clean boot.
- How To Resolve Driver Power State Failure
- How To Fix Windows 11 Critical Process Died Error
- How To Fix Windows 10 Install Error 8007002C-4000D
Good job! Please give your positive feedback
How could we improve this post? Please Help us.