Encountering the disappearance of the WiFi option on your Windows 11 system can be incredibly frustrating. Suddenly, finding yourself unable to connect to the Internet due to this elusive glitch can disrupt your workflow and leave you stranded in the digital void. The cause behind this baffling disappearance could stem from many issues, ranging from misconfigured settings to problematic drivers.
However, don’t worry, as viable solutions are at hand. By diving into the troubleshooting steps outlined below, I will guide you through reclaiming that vital WiFi option and restoring seamless connectivity to your Windows 11 PC. Let’s commence this journey and resolve the WiFi disappearance dilemma.

Key Takeaways
- The disappearance of the WiFi option on Windows 11 PCs disrupts internet connectivity, rendering users unable to access wireless networks and causing significant inconvenience.
- Various factors can contribute to this problem, including misconfigured settings, corrupted drivers, or software glitches within the operating system.
- Resolving this issue involves utilizing built-in troubleshooting tools such as the Internet Connection or Network Adapter troubleshooter, manually enabling the WiFi adapter, and updating network adapter drivers through Device Manager.
Before going towards advanced fixing methods, I recommend trying the following simple fixes:
- Restart Device
- Update Windows 11
- Reset Network Settings
- Check Airplane Mode
- Check Hardware Connections
Enable WiFi Adapter
In my experience, the first method I suggest is enabling the WiFi adapter. If the WiFi option has disappeared on your Windows 11 PC, one potential solution is to enable the WiFi adapter. With this adapter, your PC can establish connections with wireless networks. This method has also proven effective in restoring the WiFi option for several Quora users. Here’s how you can enable the WiFi adapter:
- Open Settings: First, click on the Start menu, then click on the gear icon to access the Settings.

Start menu > Settings > Image Credit (Emopulse) - Select Network & Internet: Navigate to the Network & Internet section in the settings menu.
- Choose Advanced Network Settings: To access the Network Connections window, navigate to ‘Advanced network settings’ under the Related Settings menu.
Network & Internet> Advanced network settings—Image Credit (Emopulse) - Enable the WiFi Adapter: Look for the WiFi adapter. If it appears greyed out, it means it’s disabled. Right-click > Enable.
Network Connections: Image Credit (Emopulse)


Once enabled, check to see if the WiFi option is available.
Run Network Adapter Troubleshooter
After conducting my research, I’ve found that one effective method suggested by my team and the Microsoft community is running the network adapter troubleshooter. This built-in tool in Windows 11 can automatically diagnose and fix minor network adapter issues, including the WiFi option’s disappearance. Below, I’ve outlined the steps to run a network troubleshooter:
- Open troubleshooting settings: Access the Search icon located on the Taskbar, then type “troubleshoot settings” into the search bar and hit Enter.
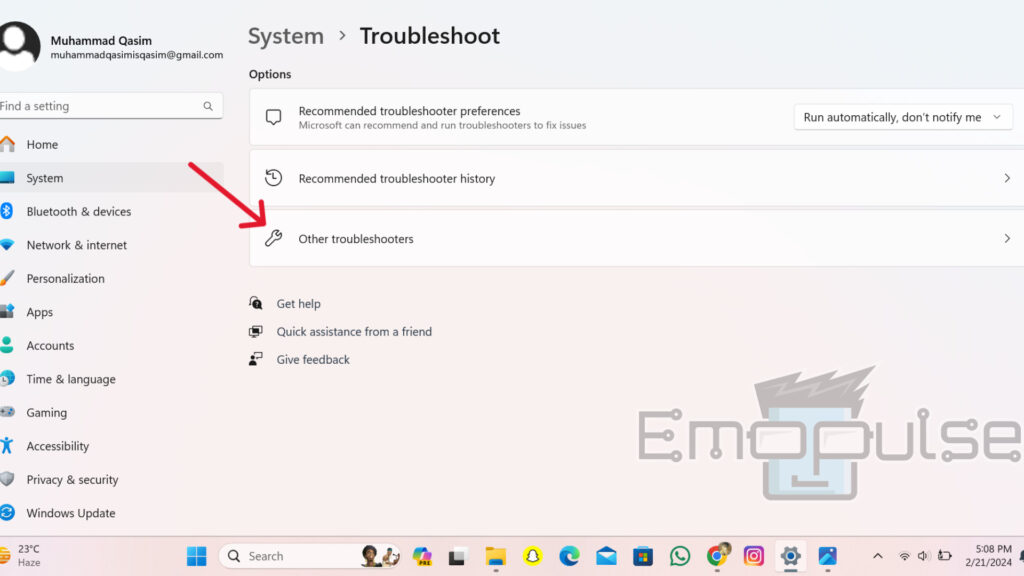
Search menu > troubleshoot settings – Image Credit (Emopulse) - Select other troubleshooters: In the Troubleshoot settings window, navigate to Other troubleshooters.
System > Troubleshoot > Other troubleshooters – Image Credit (Emopulse) - Run Network Adapter: Locate network adapter, then click on the “Run” button adjacent to it.
Network and Internet> Run – Image Credit (Emopulse) - Detect Issues: Wait for the troubleshooter to identify any problems, and then proceed by following the instructions displayed on the screen to resolve them.


Moreover, you can execute the Internet troubleshooter by following these steps:
- Open System Tab: Press the “Win + I” keys simultaneously to open Settings, then navigate to the “System” tab.
- Access Other Troubleshooters: On the right pane, slide down and select “Troubleshoot.” Then, under the options, you will find “Other Troubleshooters.”
- Click on Run: Select “Internet Connections” and click on the “Run” button. Windows will initiate the troubleshooter, displaying the issues that it can diagnose and resolve.
Update Or Reinstall Drivers
Based on my experience, updating the network adapter drivers is another effective method. Outdated or corrupt drivers can lead to WiFi connectivity issues in Windows 11. By ensuring your drivers are up-to-date, you can resolve compatibility issues and potentially restore the missing WiFi option. Here are the steps to update or reinstall the drivers:
- Open Device Manager: Press Windows key along with “S”, then type “Device Manager” and choose the first result that appears.
Search menu > device manager – Image Credit (Emopulse) - Select Update Driver: Find and expand network adapters. Right-click and opt for “Update driver.”
Network adapters > Update driver – Image Credit (Emopulse) - Check WiFi Icon: Check if the WiFi icon reappears after updating the driver. If not, repeat the steps to uninstall the WiFi driver.
- Restart PC: Upon restarting PC, Windows will proceed to automatically reinstall the WiFi drivers.


Enable WLAN Auto Config Service
WLAN Auto Config service is crucial for establishing wireless network connections. When addressing WiFi issues on your Windows 11 PC, enabling the WLAN Auto Config service is reliable. This service manages wireless network connections. Below, I’ve listed the steps to enable it:
- Open Run: Press Win + R to open the Run dialogue box. Type “services.msc” and click OK.
Windows+R > services.msc – Image Credit (Emopulse) - Select Properties: Locate the WLAN AutoConfig service, right-click, and select Properties.
- Click on Start: Navigate to the Properties dialogue and configure the Startup type to Automatic, followed by clicking Start to initiate.
WLAN AutoConfig > Properties > Image Credit (Emopulse) - Save Changes: Click Apply and then OK to save changes.


Enabling the WLAN Auto Config service can help resolve WiFi connectivity issues.
Final Verdict
The “disappearance of WiFi option on Windows 11” is an extremely frustrating issue. This problem is undeniable, and I had difficulties resolving it since it needed a combination of easy solutions and advanced troubleshooting methods.
The developers are working to find effective solutions to solve this problem, although people on the Garuda Linux forum have reported the same issue for Windows 11. While fixing this error, I faced challenges but was ultimately able to restore access. By following my guide, you can regain seamless connectivity.
Check out my other guides on:
- How To Turn Off Efficiency On Windows 11?
- How To Fix CPU Over Temperature Error?
- How To Clear Your Browser Cache?
Frequently Asked Questions
Why did my Wi-Fi option disappeared Windows 11?
Your Windows 11 computer may not show a Wi-Fi connectivity option due to various reasons. Corrupt Wi-Fi drivers, hardware issues, and even problems with the Windows OS can be the potential causes for this problem.
Where is the Wi-Fi on Windows 11?
Select the Network icon in the notification area, then select the > icon next to the Wi-Fi quick setting to see a list of available networks. Choose the network that you want to connect to, and then select Connect.
Why has my Wi-Fi disappeared?
Your Wi-Fi may have disappeared due to a technical issue such as router malfunction, interference, or settings misconfiguration.
How do I unhide Wi-Fi on Windows 11?
To unhide Wi-Fi networks on Windows 11, click the network icon in the taskbar, then select "Network & internet settings." Navigate to the "Wi-Fi" section and click "Show available networks" to view hidden options.
How do I reinstall my Wi-Fi driver?
Right-click the Start button, choose "Device Manager," uninstall your Wi-Fi adapter, then restart for automatic reinstallation. If needed, download the latest driver from the manufacturer's website and install it manually.
Good job! Please give your positive feedback
How could we improve this post? Please Help us.