Are you struggling with setting CPU priority for foreground applications in Windows? It might be because foreground apps and background services compete for your CPU’s attention. This happens when your system doesn’t give enough resources to important apps, causing a slowdown. I will teach you tried-and-tested solutions to boost your system’s performance.
Key Takeaways
- This problem involves a misconfiguration in Windows settings where CPU priority isn’t adequately allocated to foreground applications, leading to performance issues.
- The error can be triggered by system changes, user modifications, or unintentional adjustments affecting the resource allocation for foreground applications.
- Optimize system performance by adjusting CPU priority settings to prefer foreground apps through various methods.
Modify System Properties
I tried this method, and it’s incredibly user-friendly, especially for those who enjoy tweaking settings through a graphical interface. Simply navigate through some options in the System Properties. People in the Microsoft Community have also benefited from this approach. Just follow the steps below:
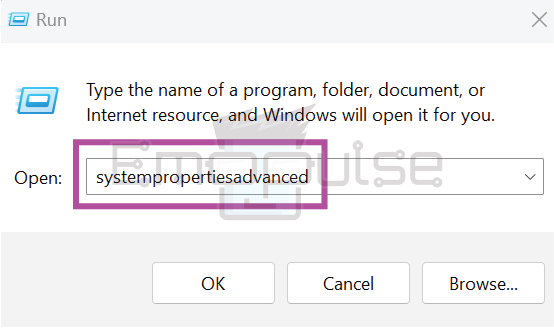
- Apply Command: Press Win + R to open the Run dialog. Type “systempropertiesadvanced” and press Enter.
- Open Advanced Tab: In the System Properties window, navigate to the Advanced tab.
- Open Advanced Tab: Click Settings > Performance Options > Advanced tab under the Performance section.
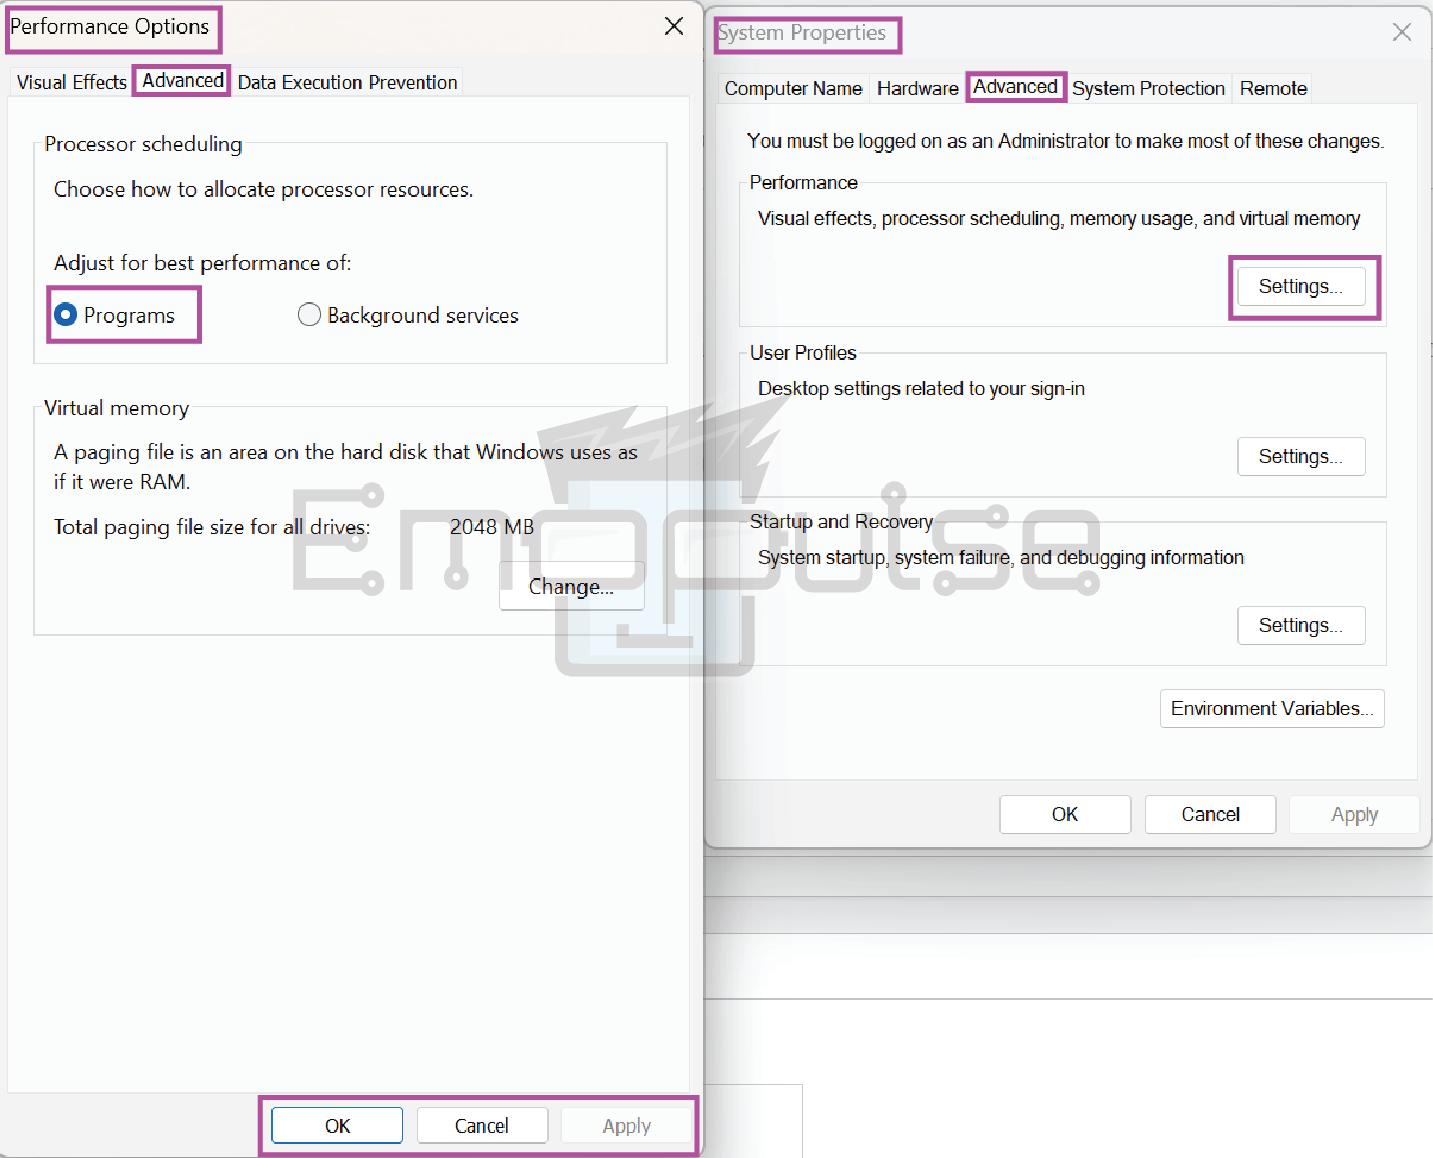
- Save Changes: Check “Programs” under “Adjust for best performance.” Click Apply >OK to save the changes.
Registry Editor
Our team tested this method, giving you more control by adjusting a specific value called “Win32PrioritySeparation.” you can fine-tune how much priority your system gives to foreground applications. It’s like customizing your computer’s performance to suit your needs.
- Open Run: Press Win + R to open the Run dialog. Type “regedit” and hit Enter to launch the Registry Editor.

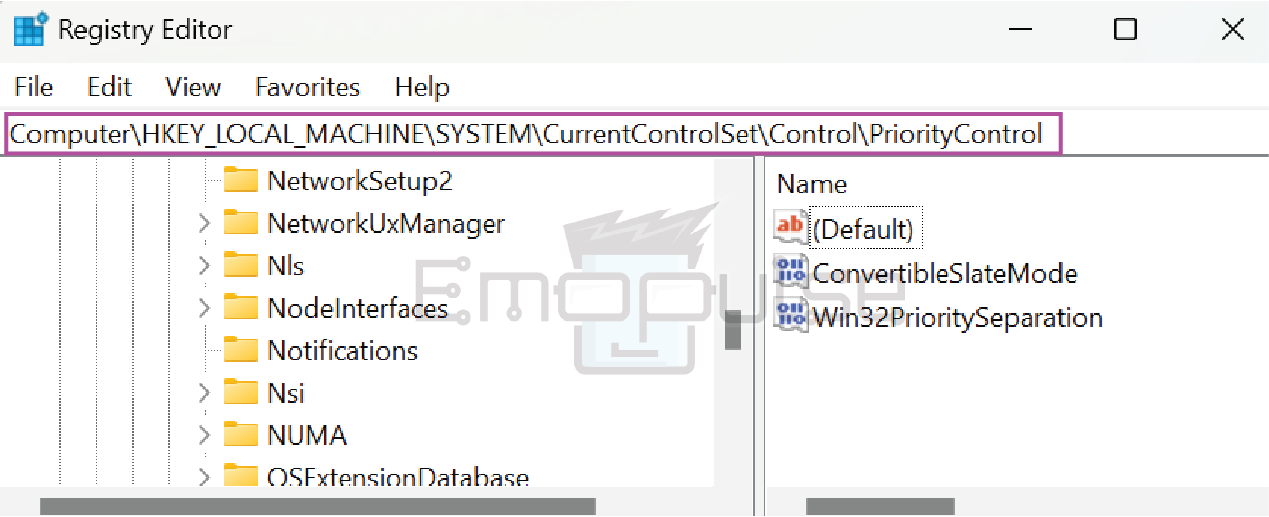
- Find Location: Navigate to “HKEY_LOCAL_MACHINE\SYSTEM\CurrentControlSet\Control\PriorityControl,.”
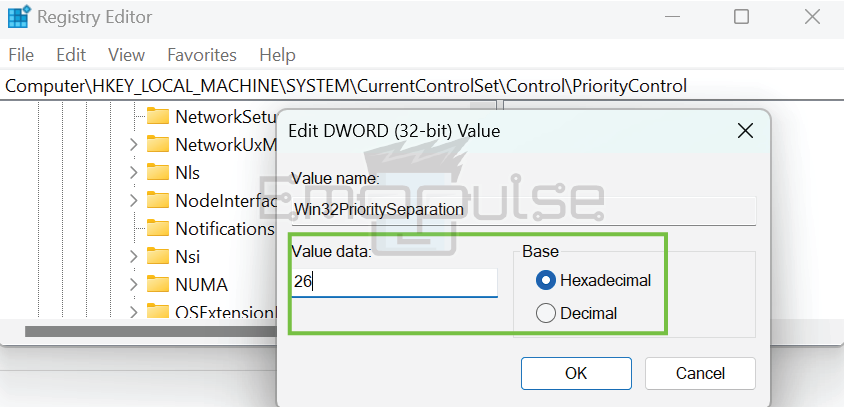
- Edit And Save: Double-click on “Win32PrioritySeparation”. Change its value to 26 Hexadecimal or 38 Decimal. Click OK to apply the changes.
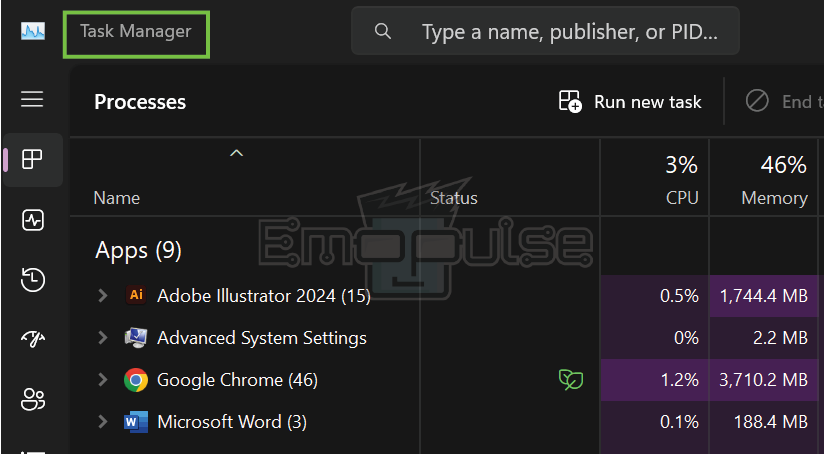
Task Manager
Task Manager lets you prioritize individual applications. I tested this method, and it’s a quick fix for boosting specific apps. It’s handy when choosing which apps get top-tier treatment and only takes a few clicks. Users on SuperUser tried it and saw positive results.
- Open Task Manager: Press “Ctrl + Shift + Esc” to summon Task Manager.
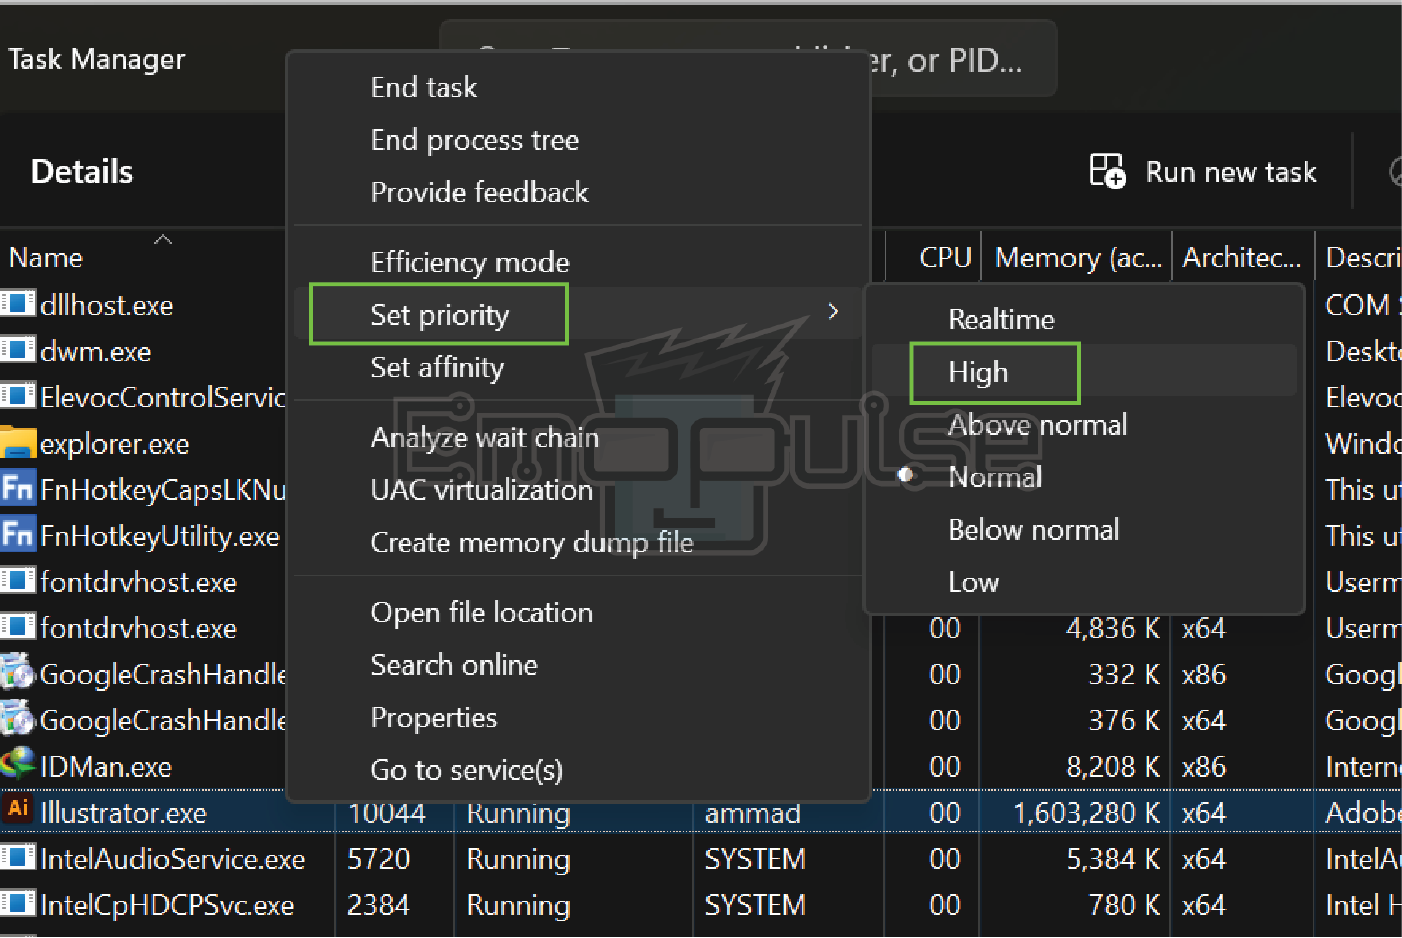
- Find The App: Head to the Details tab and find the app or process you want to prioritize.
- Set Priority: Right-click on it, hover over “Set Priority,” and choose either “High” or “Above Normal.”
PowerShell
PowerShell lets you control CPU priority straight from the command line. I experimented with this method, and it’s like having a backstage pass to your system’s performance. It’s fantastic for those who enjoy a more hands-on approach to system tweaking.
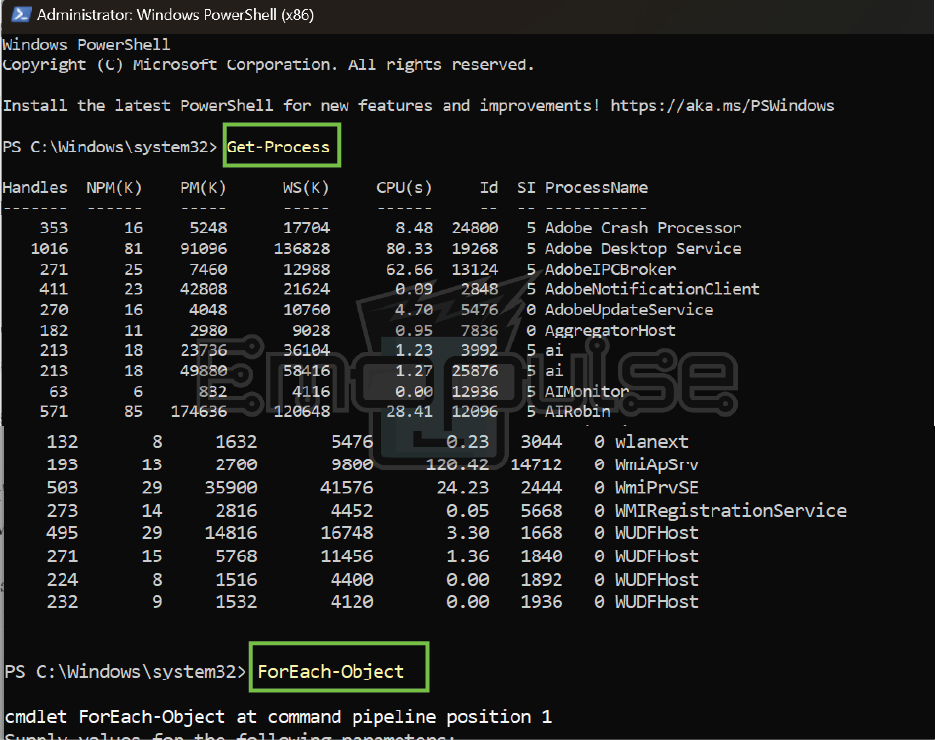
- Run PowerShell: Open PowerShell as an Administrator.
- Apply Command: Use commands like Get-Process and ForEach-Object to prioritize specific processes.
Command Prompt
My teammate found the command-line interface of Command Prompt surprisingly effective when they tested this method, proving it to be a hidden gem for prioritizing processes. People who utilized this method shared their satisfying experiences on the Bitsum Community.
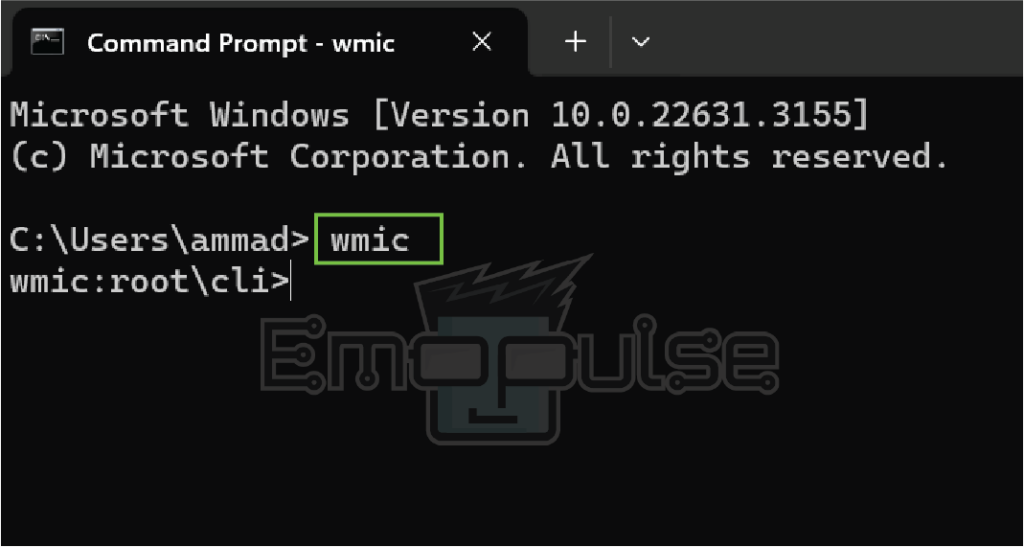
- Open Cmd Prompt: Launch the Run dialog (Win+R), type cmd, and press Enter.
- Apply Command: Use the “wmic” command with the process name and desired priority level.
Final Words
In my opinion, if your computer lags, some background apps can be the problem. I fixed this issue easily by prioritizing important apps on my list. Some users on Beyond3D Forum are also looking for a way to change priority timings. I have a fix for everyone right now, and I hope my tested methods will help. If you’re still stuck, contact Windows Support for assistance.
Check out my other guides on:
- How To Remove Bing From Windows 11?
- How To Fix CPU Over Temperature Error?
- How To Clear Your Browser Cache?
Frequently Asked Questions
Why is my computer experiencing performance issues?
Your computer may be struggling with CPU priority allocation, causing competition between foreground applications and background services.
How can I quickly boost the performance of a specific application?
Use Task Manager to prioritize the application by setting its priority to "High" or "Above Normal."
Is there a command-line option for adjusting CPU priority?
Yes, you can use PowerShell or Command Prompt with specific commands to control CPU priority for processes.
Good job! Please give your positive feedback
How could we improve this post? Please Help us.