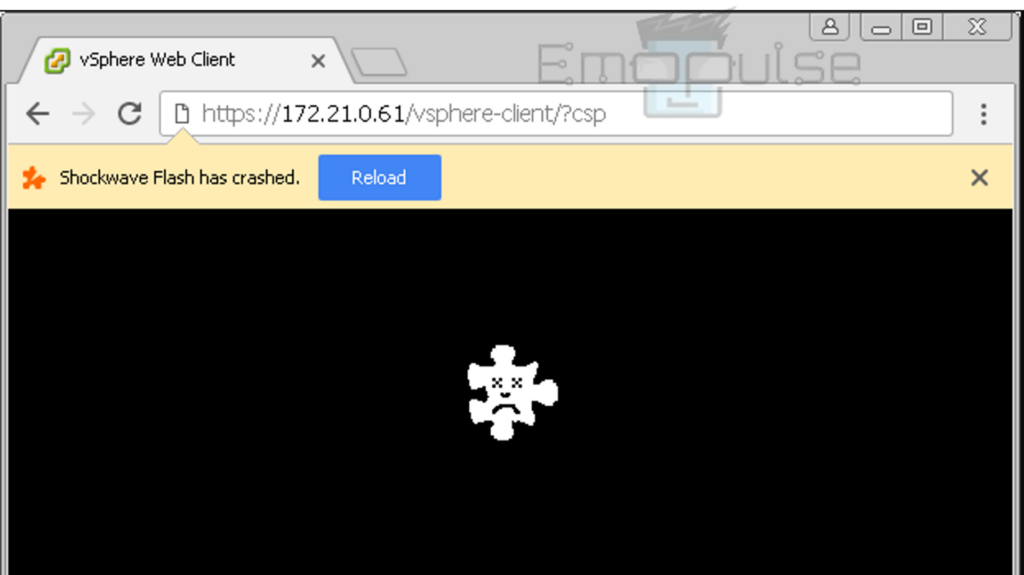
I was unable to navigate due to Shockwave Flash crashing on Chrome browser often. It took some troubleshooting for me to figure out that outdated plugins were the cause. I turned off unused extensions. It worked for me. This solution has received widespread recognition and support from the Microsoft community, and users all over the world have successfully implemented it to show its efficacy.
The message ‘Shockwave Flash has crashed’ appears on the screen when this occurs. I’m writing this article to make it easier for you to get past this technological snag.
Key Takeaways
- When a browser crashes frequently due to conflicts or problems with the Flash plugin, it’s referred to as “Shockwave Flash crashing on Chrome in Windows 10,” which frequently results in interrupted browsing sessions.
- Older software, resource-intensive content, and plugin conflicts can all cause Shockwave Flash to crash in Chrome on Windows 10.
- You can fix it by reinstalling Chrome, updating Chrome, clearing browsing data, turning off hardware acceleration and with the help of other fixes as well.
You can give these simple fixes a go:
- Update Chrome
- Clearing Browser Data
- Clear Browser Cache
- Using Another Browser
- Disable Hardware Acceleration
- Reinstall Chrome Browser
However, if the problem persists, you can follow the following fixes to cope with it:
Turn Off Hardware Acceleration
During my battle with Shockwave Flash crashing on Chrome, I found that turning off hardware acceleration changed everything. It lessened the crashes. It also brought back seamless browsing by relieving the burden on my system’s graphics card. Sometimes, a minor adjustment like this may open up a whole new world of stability.
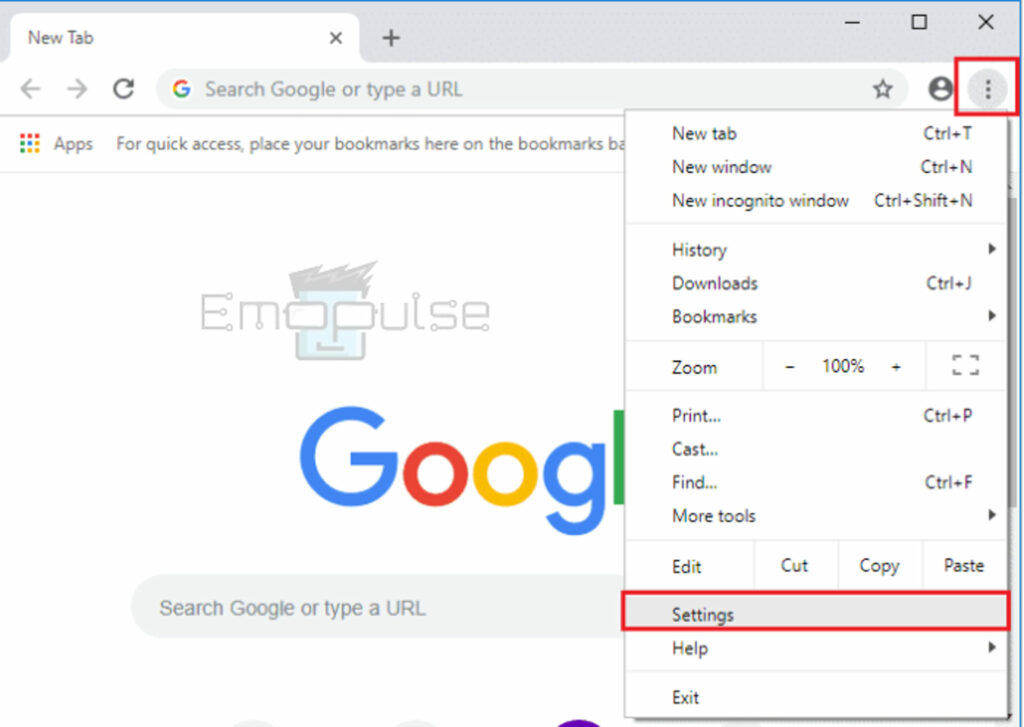
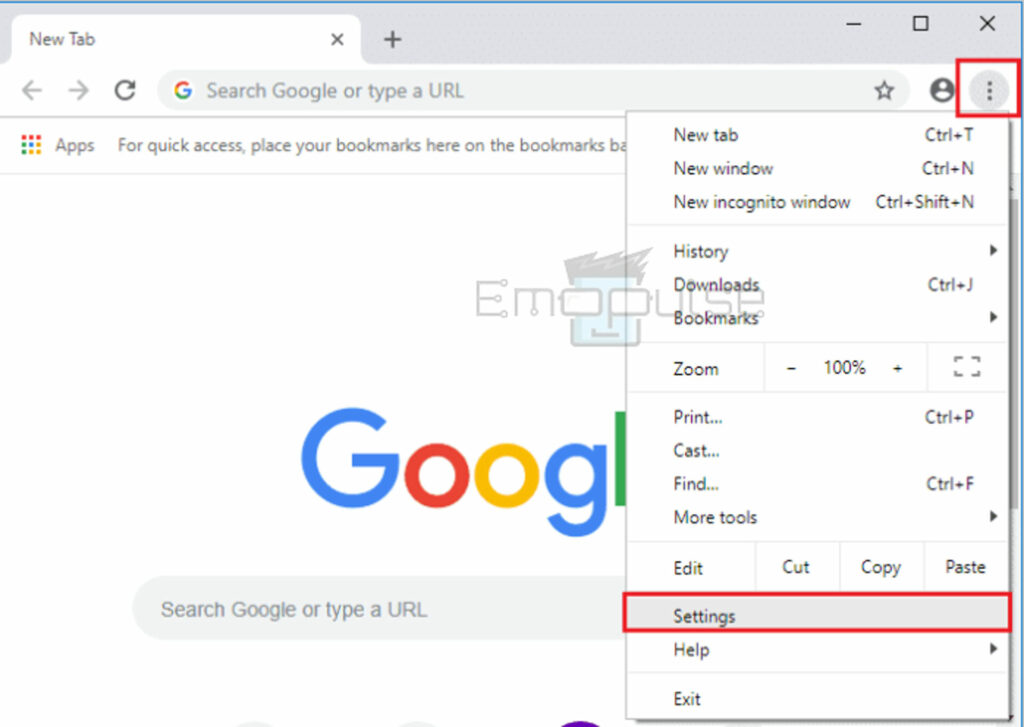
- Settings: Launch ‘Google Chrome’ > Open ‘Settings’

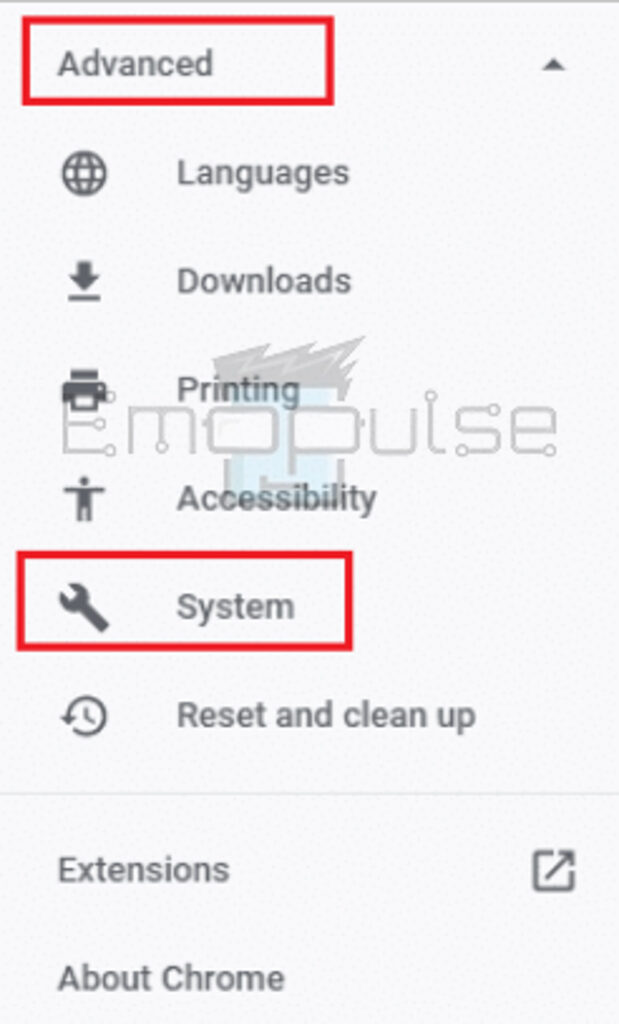
Launch ‘Google Chrome’ > Open ‘Settings’ – Image Credits [Emopulse] - System: Expand the ‘Advanced’> Click on ‘System’

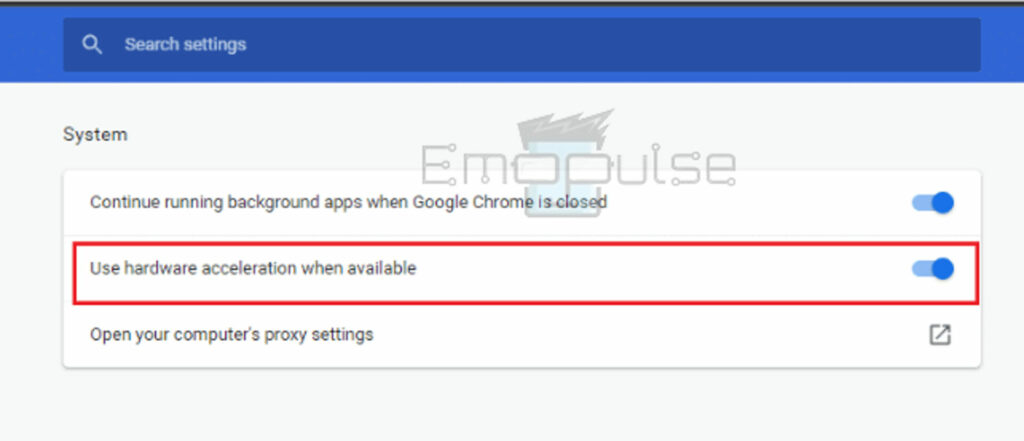
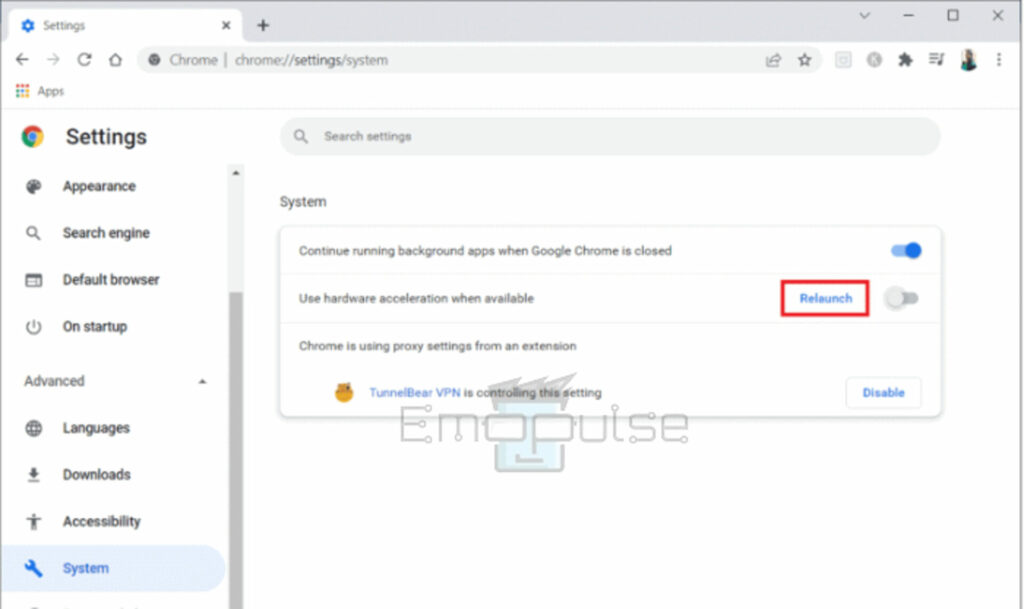
Expand the ‘Advanced’> Click on ‘System’ – Image Credits [Emopulse] - Turn Off Hardware Acceleration: System > Turn off the toggle for the ‘Use hardware acceleration when available’ option.

Turn off the toggle for the ‘Use hardware acceleration when available’ option – Image Credits [Emopulse] - Relaunch: Turn off ‘hardware acceleration’ > Click on ‘Relaunch’

Turn off ‘hardware acceleration’ > Click on ‘Relaunch’ – Image Credits [Emopulse]
Reset Chrome Settings
My go-to solution for fixing Shockwave Flash crashes in Chrome on Windows 10 was to reset the browser’s settings. It was as if I had struck the reset button on my internet browsing experience. It brought back seamless operation. Sometimes, all it takes to overcome those annoying technological obstacles is a new start.
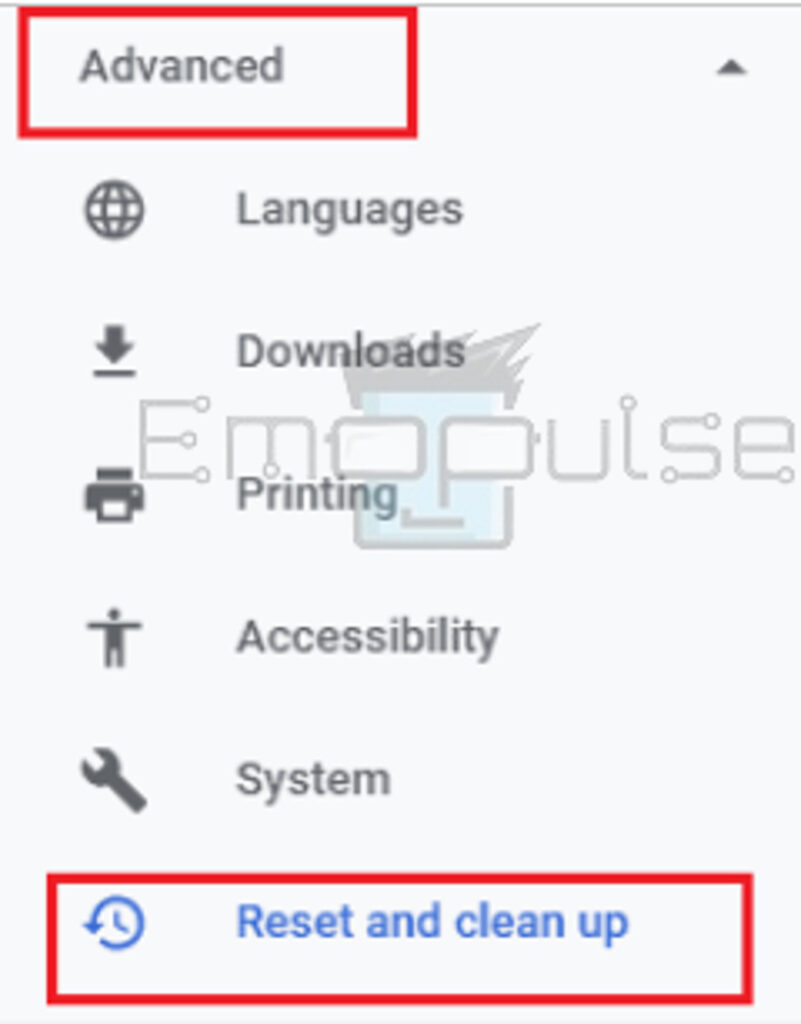
- Reset & Clean Up: Google Chrome Settings > Select ‘Advanced’ > Select ‘Reset & clean up’

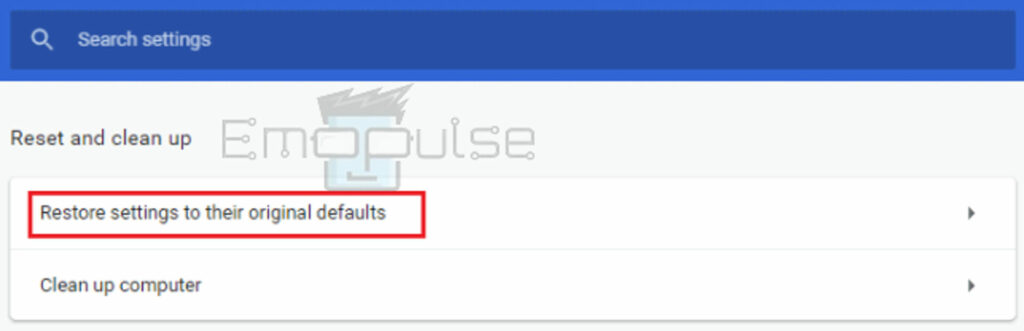
Google Chrome Settings > SElect ‘Advanced’ > Select ‘Reset & clean up’ – Image Credits [Emopulse] - Restore Settings: Select ‘Reset & clean up’ > Click on the ‘Restore settings to their original defaults’ option

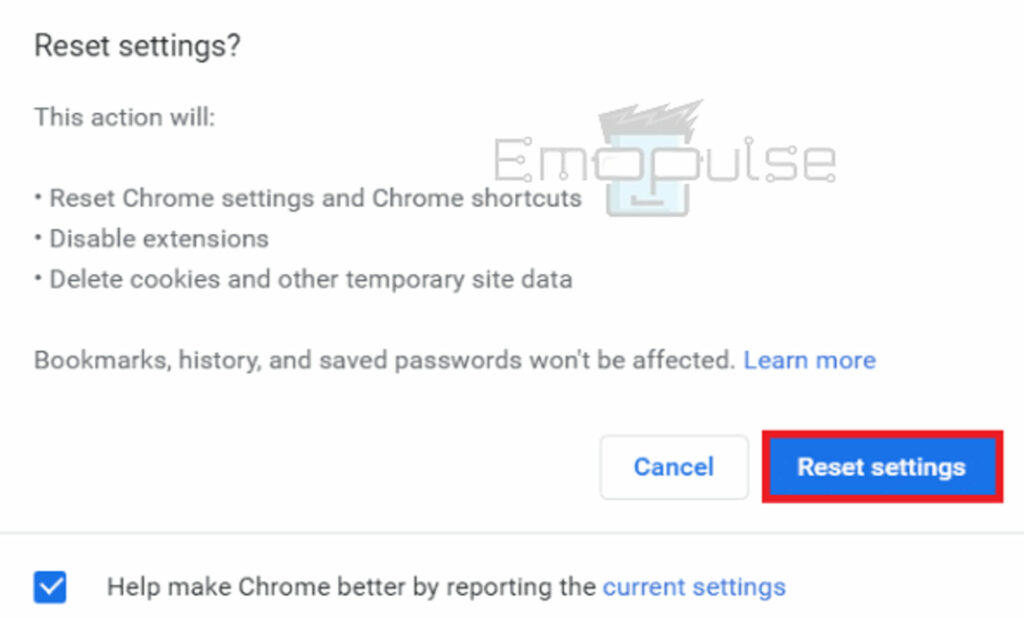
Select ‘Reset & clean up’ > Click on the ‘Restore settings to their original defaults’ option – Image Credits [Emopulse] - Reset settings: Select Reset settings > Prompt confirmed

Select Reset settings > Prompt confirmed – Image Credits [Emopulse]
Modify Flash Settings In Chrome
During my exploration into Shockwave Flash crashes on Chrome Windows 10, I discovered that adjusting the Flash settings was quite insightful. It seemed as though I was taking charge of my internet destiny. It adjusted settings to maximize efficiency and waved goodbye to those annoying crashes.
- Settings: Open ‘Chrome’ > Select ‘Settings’

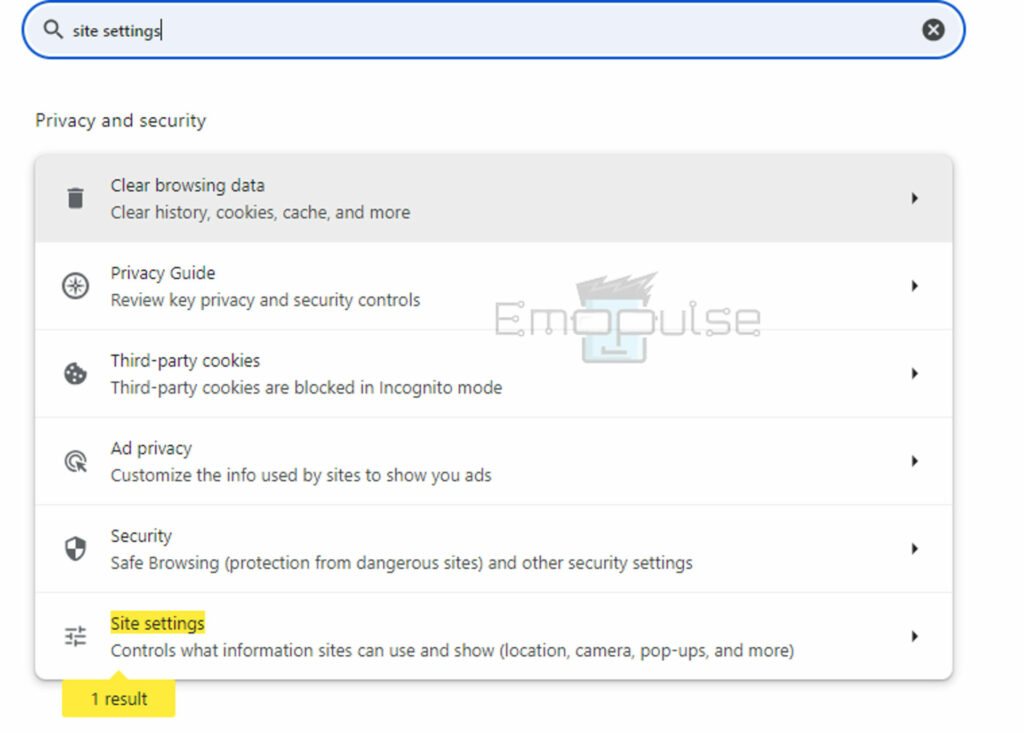
Open ‘Chrome’ > Select ‘Settings’ – Image Credits [Emopulse] - Site settings: Search ‘Site settings’ > Click on it

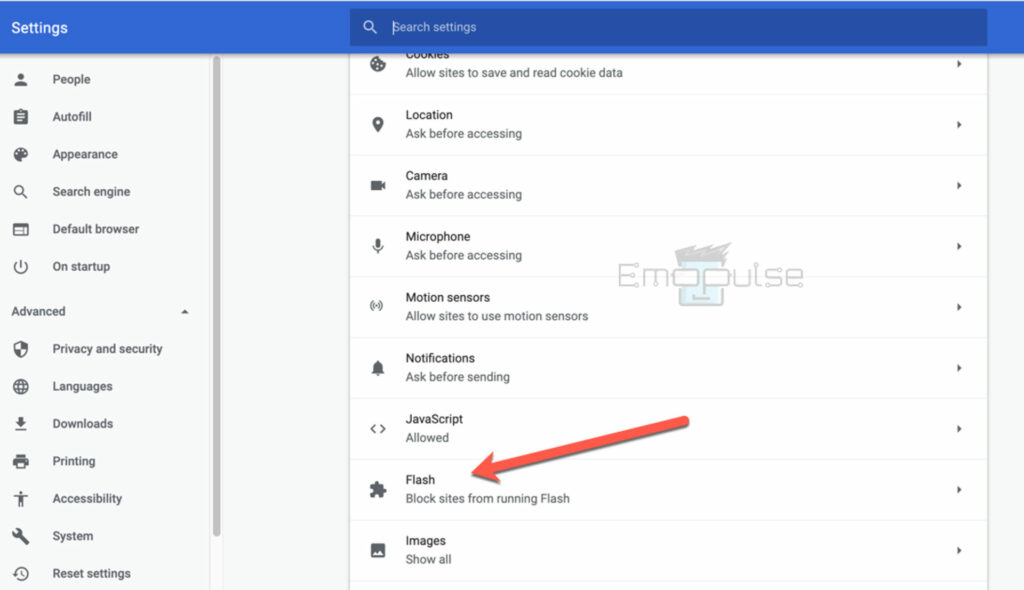
Search ‘Site settings’ > Click on it – Image Credits [Emopulse] - Flash: Navigate to Flash> Click on it

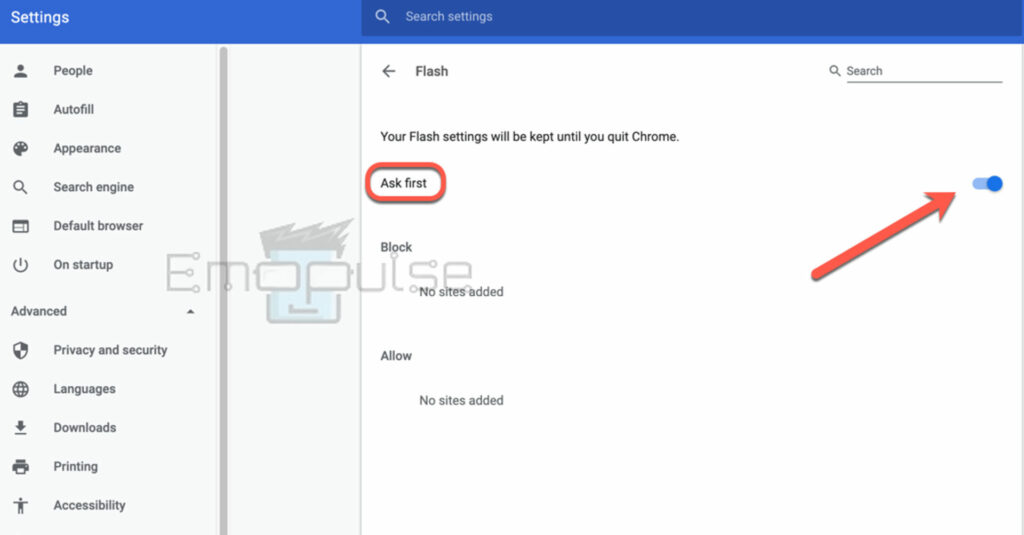
Navigate to Flash> Click on it – Image Credits [Emopulse] - Ask First: Move the toggle as ask first (recommended) > Turn it blue

Move the toggle as asked first (recommended) > Turn it blue – Image Credits [Emopulse]
Rename The Google Flash Player
Renaming the Google Flash Player was a game-changer in my experience dealing with Shockwave Flash problems on Chrome Windows 10. It was as if I had taken back command of my browser. It avoided any potential confrontations and had smooth functionality again. I promise you that sometimes a small change in the file name can result in a more seamless, crash-free surfing experience.
Here are the steps to do it:
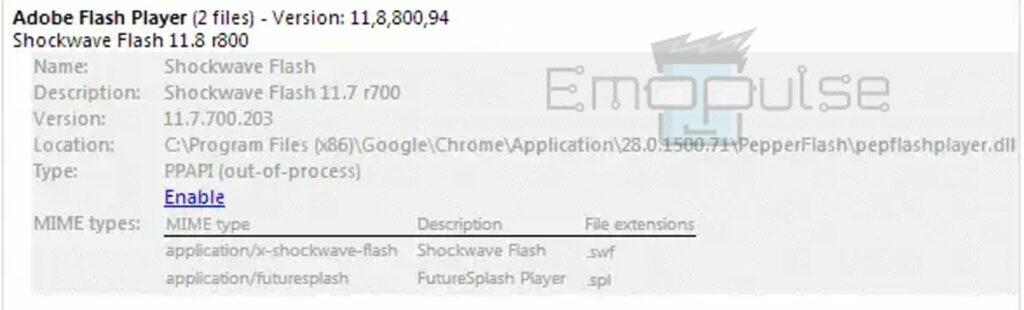
- Location: Go to the ‘about plugins’ page > Note of its location

Go to the ‘about plugins’ page > Note its location – Image Credits [Emopulse] - Rename: Search for Flash player location > Rename the file from ‘pepflashplayer.dll’ to ‘oldpepflashplayer.dll’

Rename the file from ‘pepflashplayer.dll’ to ‘oldpepflashplayer.dll’ – Image Credits [Emopulse] - Disable: Rename > Go to ‘about plugins’ > Click ‘Disable’

Rename > Go to ‘about plugins’ > Click ‘Disable’ – Image Credits [Emopulse]


Run Flash On-Demand
I found that using Flash On-Demand was a lifesaver while dealing with Shockwave Flash problems on Chrome Windows 10. It seemed as though you were taking back control of how resources were used. It lets Flash content load only when necessary and gets rid of those annoying crashes. Occasionally, controlling Flash activation can be the secret to a more enjoyable browsing experience free from crash difficulties.
To do it:
- Show Advanced Settings: Type ‘chrome://settings’ > Open the Chrome Settings > Choose ‘Show advanced settings…’

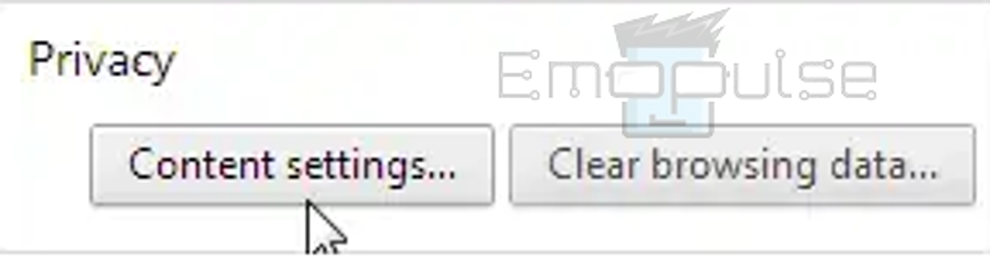
Type ‘chrome://settings’ > Open the Chrome Settings > Choose ‘Show advanced settings…’ – Image Credits [Emopulse] - Content Settings: Select ‘Privacy’ > Click on ‘Content settings…’

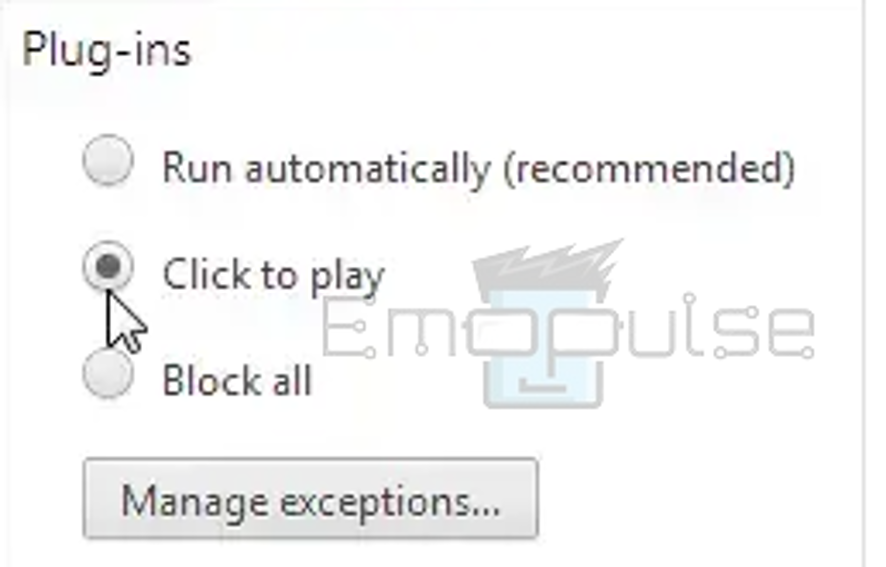
Select ‘Privacy’ > Click on ‘Content settings…’ – Image Credits [Emopulse] - Click to play: A dialog window will appear > Open ‘Plugins’ section> Click on ‘Click to play’ > Click ‘Done’

Open ‘Plugins’ section> Click on ‘Click to play’ > Click ‘Done’ – Image Credits [Emopulse] - Click to run: Visit a page with elements that run Flash > You’ll see a greyed-out area > Has a ‘Click to run’ button

Click to run – Image Credits [Emopulse]

Enable JavaScript
My solution to the Shockwave Flash problems on Chrome Windows 10 required me to enable JavaScript. It guaranteed stability and compatibility. It opened the door to a world of seamless surfing without the headache of crashes.
- Settings: Open the Chrome > Open ‘Settings’

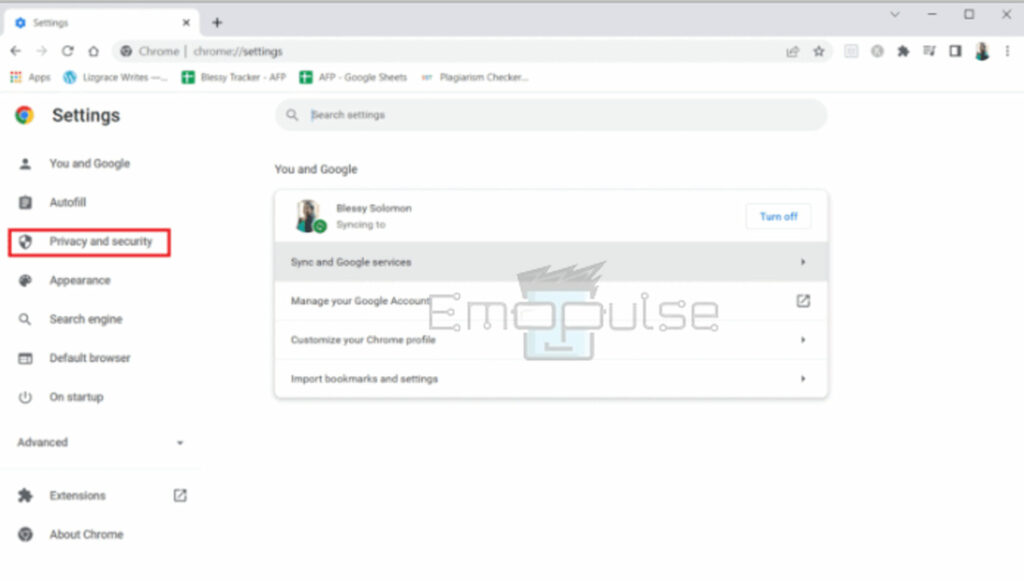
Open the Chrome > Open ‘Settings’ – Image Credits [Emopulse] - Privacy & Security: Open ‘Settings’ > Click on ‘Privacy and security’

Open ‘Settings’ > Click on ‘Privacy and security’ – Image Credits [Emopulse] - Site Settings: Privacy and security > Click on ‘Site Settings’

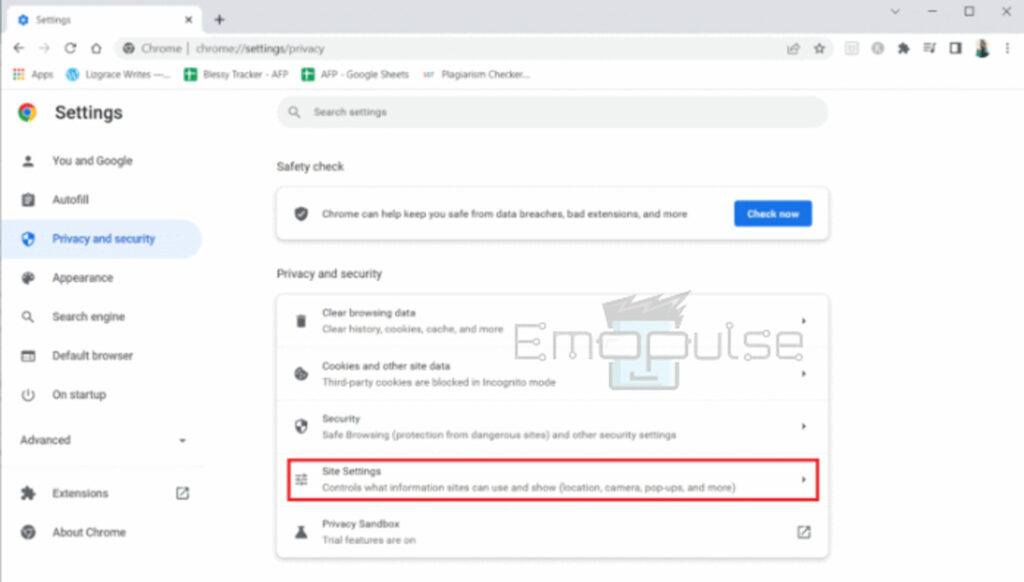
Privacy and security > Click on ‘Site Settings’ – Image Credits [Emopulse] - JavaScript: Under the ‘Content’ section > Click on ‘JavaScript’

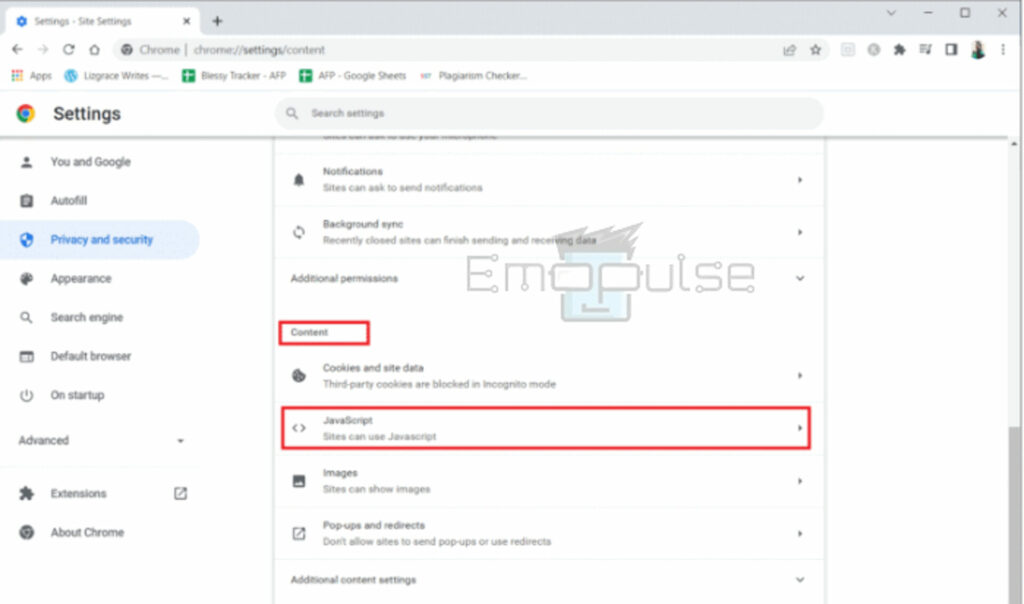
Under the ‘Content’ section > Click on ‘JavaScript’ – Image Credits [Emopulse] - Sites can use JavaScript: JavaScript > Enable the option ‘Sites can use JavaScript’

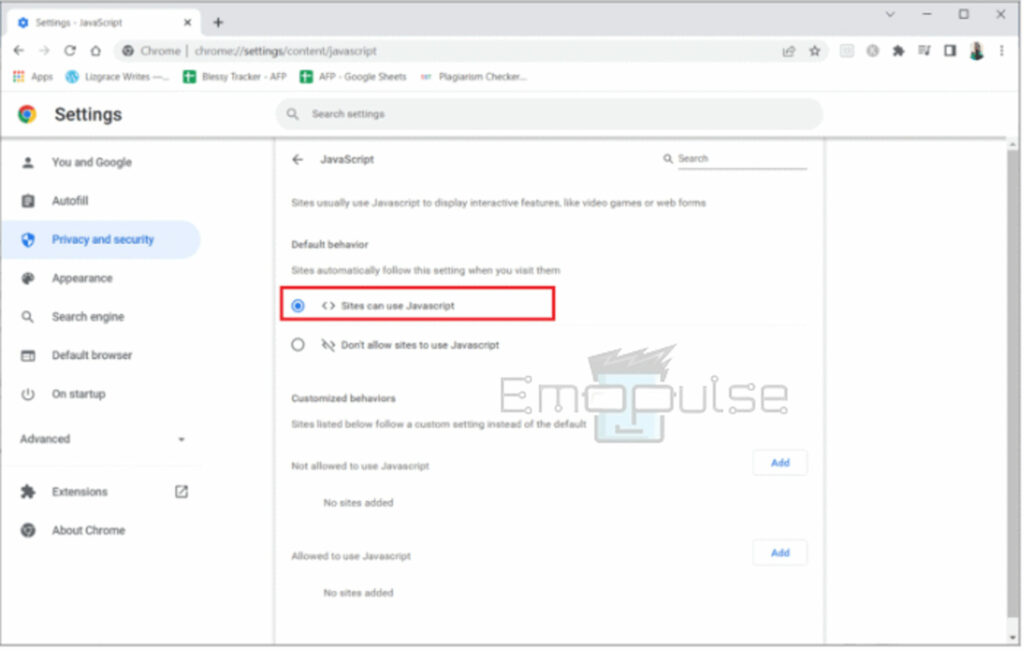
Java Script > Enable the option ‘Sites can use JavaScript’ – Image Credits [Emopulse]
Final Words
I can say that my experience with Shockwave Flash failing has been both unpleasant and educational. I faced the problem head-on, updating Chrome and controlling add-ons to bring back seamless browsing through trial and error. I know that my difficulties have led to the creation of a useful manual. It will help others get beyond similar obstacles. I hope this post will be a source of inspiration and direction for others.
Also read:
- How To Resolve Driver Power State Failure
- How To Fix Windows 11 Critical Process Died Error
- How To Fix Windows 10 Install Error 8007002C-4000D
Frequently Asked Questions
Is it possible to stop Shockwave Flash crashes from happening again?
Future problems can be avoided by keeping Chrome updated, making sure plugins are current, and avoiding resource-intensive tasks.
What should I do if updating Chrome doesn't stop Shockwave Flash crashes?
If the problem continues, try cleaning the browser's cache and cookies. You might also want to try restoring Chrome's default settings.
Can Windows 10 conflicting software cause Shockwave Flash crashes?
It is true that occasionally conflicts between Shockwave Flash and third-party software, such as antivirus software or system optimizers, can cause crashes.
Good job! Please give your positive feedback
How could we improve this post? Please Help us.